Well, it has been occupying my thoughts for the past two days, as I contemplated writing this article. I want to make it clear from the start that WordPress is not my area of expertise. My skills are primarily focused on writing posts, editing themes, and handling normal administrative tasks.
A couple of days ago, I found myself with some spare time, and two specific actions came to my mind regarding my website. First, I wanted to migrate it to a different virtual machine, and secondly, I aimed to enhance the overall theme and user interface.
Considering that I didn’t want to experiment directly on the production environment, I decided to explore the world of WordPress on my local machine. However, I had one condition:Installing the least number of tools is my first condition. Instead, I opted to leverage Docker for testing purposes. In this article, I will guide you through the process of achieving this without the need for any external installations.
Docker
Docker is a platform that allows you to package and run applications in isolated environments called containers. It provides a lightweight and efficient way to deploy software, as containers are self-contained and can run consistently across different systems. Docker simplifies the process of managing dependencies and ensures that applications run smoothly in any environment, making it popular for software development, deployment, and scaling.
In order to install docker you can download from the official website : https://www.docker.com/
Now , what we want to have is wordpress + mysql toghther , in order to have that we need to create a docker compose file , but first what is docker compose ?
Docker Compose is a tool that allows you to define and manage multi-container applications. It is used to specify the services, networks, and volumes required for your application’s containers to work together. With Docker Compose, you can describe your application’s infrastructure in a YAML file, including details like container images, environment variables, networking configurations, and dependencies between containers. By using Docker Compose, you can easily spin up and manage complex applications with multiple containers, simplifying the process of running and orchestrating your application’s various components.
So , in our project we are going to need to have two containers , one for my sql and oen for wordpress .
Docker compose File
version: '3'

services:
  db:
    image: mysql:latest

    restart: always
    environment:
      MYSQL_ROOT_PASSWORD: password
      MYSQL_DATABASE: wordpress
      MYSQL_USER: wordpress
      MYSQL_PASSWORD: wordpress

  wordpress:
    depends_on:
      - db
    image: wordpress:latest
    ports:
      - 3000:80
    restart: always
    environment:
      WORDPRESS_DB_HOST: db:3306
      WORDPRESS_DB_USER: wordpress
      WORDPRESS_DB_PASSWORD: wordpress
      WORDPRESS_DB_NAME: wordpress
The provided YAML file is a Docker Compose file that defines the configuration for a multi-container application. Let’s break down the role of each section within this file:
1. `version: ‘3’`: Specifies the version of the Docker Compose file format being used. In this case, it is version 3.
2. `services`: This section defines the individual services (containers) .
a. `db`: This service represents a MySQL database container.
– `image: mysql:latest`: Specifies the Docker image to use for the MySQL container, in this case, the latest version.
– `volumes`: Mounts a Docker volume named `db_data` to the container’s `/var/lib/mysql` directory. This allows data to persist even if the container is recreated.
– `restart: always`: Specifies that the container should be automatically restarted if it stops.
– `environment`: Sets environment variables within the container. Here, it defines the root password, database name, user, and password for MySQL.
b. `wordpress`: This service represents a WordPress container.
– `depends_on`: Specifies that the WordPress container depends on the `db` service, ensuring that the database container is started before the WordPress container.
– `image: wordpress:latest`: Specifies the Docker image to use for the WordPress container, using the latest version.
– `ports`: Maps port 80 of the container to port 3000 on the host system, allowing access to the WordPress application.
– `restart: always`: Indicates that the container should be automatically restarted if it stops.
– `environment`: Sets environment variables within the container. Here, it configures the WordPress container to connect to the MySQL container using the specified host, user, password, and database name.
Overall, this Docker Compose file defines two services: a MySQL database container (`db`) and a WordPress container (`wordpress`). The configuration ensures that the WordPress container can communicate with the MySQL container, allowing you to run a WordPress application with a MySQL database using Docker.
In order to test we can use the following command :
docker-compose up -d
The command `docker-compose up -d` is used to start the services defined in the Docker Compose file in detached mode.
Here’s a breakdown of the command:
– `docker-compose`: Refers to the Docker Compose command-line interface.
– `up`: Specifies that you want to start the defined services.
– `-d`: Stands for “detached” mode, which means the services will run in the background, and the terminal will be available for other commands.
When you run `docker-compose up -d`, Docker Compose reads the configuration from the `docker-compose.yml` file in the current directory and starts the associated containers as defined in the file. The services will be started in the background, and you will see the container names or IDs printed to the console.
Using the `-d` flag allows you to start the services and continue using the terminal for other tasks without being attached to the containers’ logs or output.
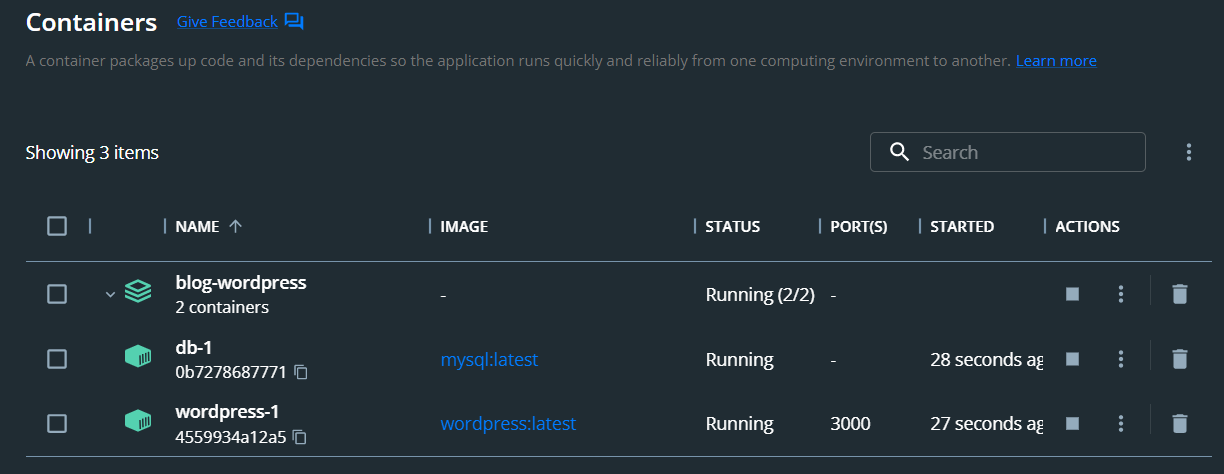
after runing the command we can see the below containers up and runing

 and if we visit http://localhost:3000/
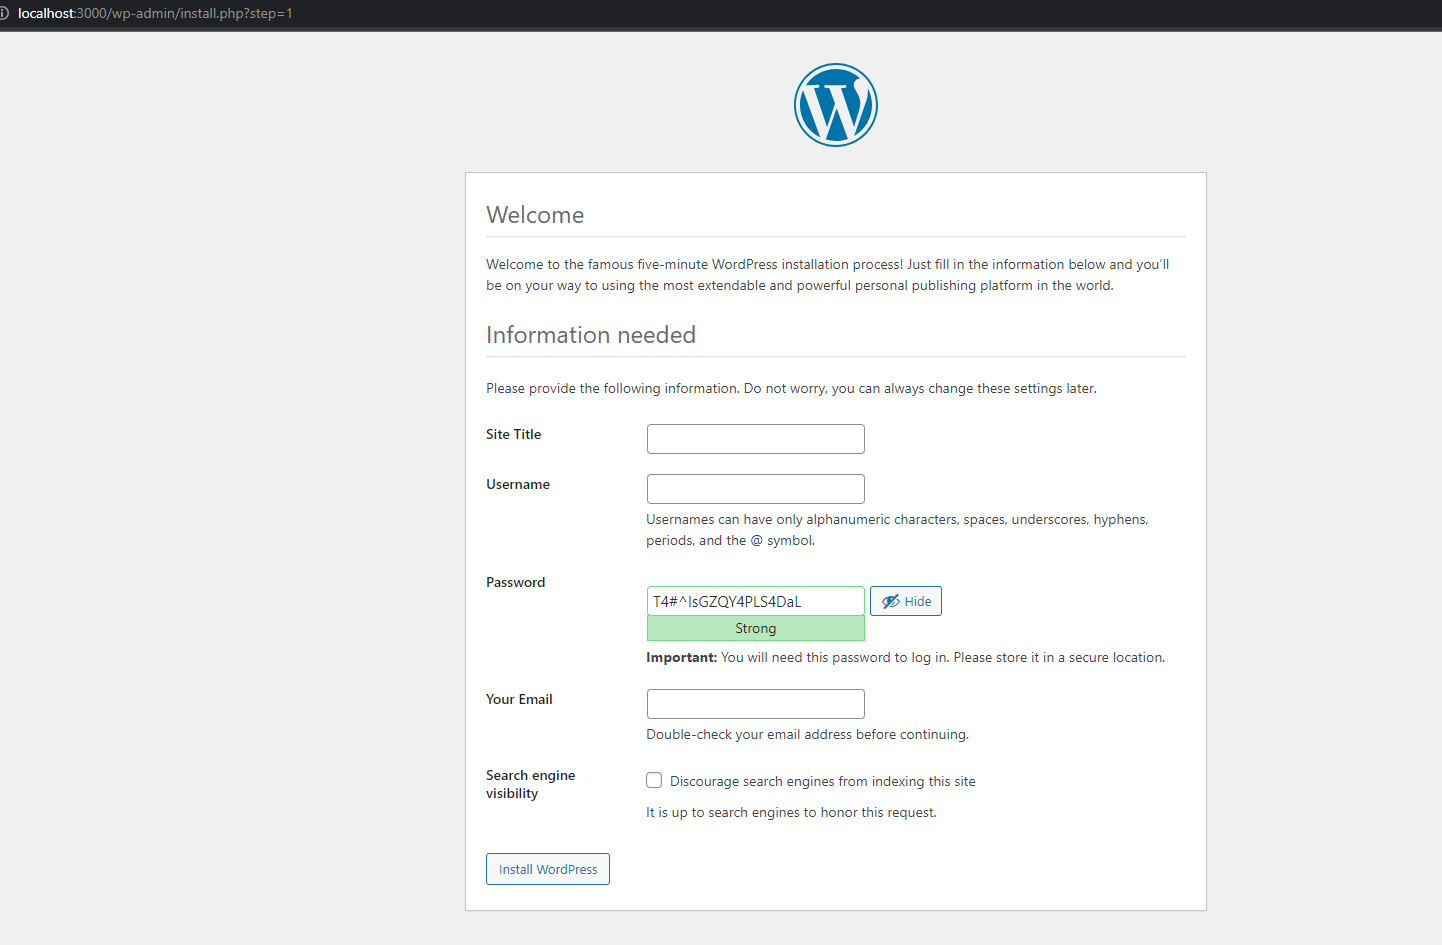
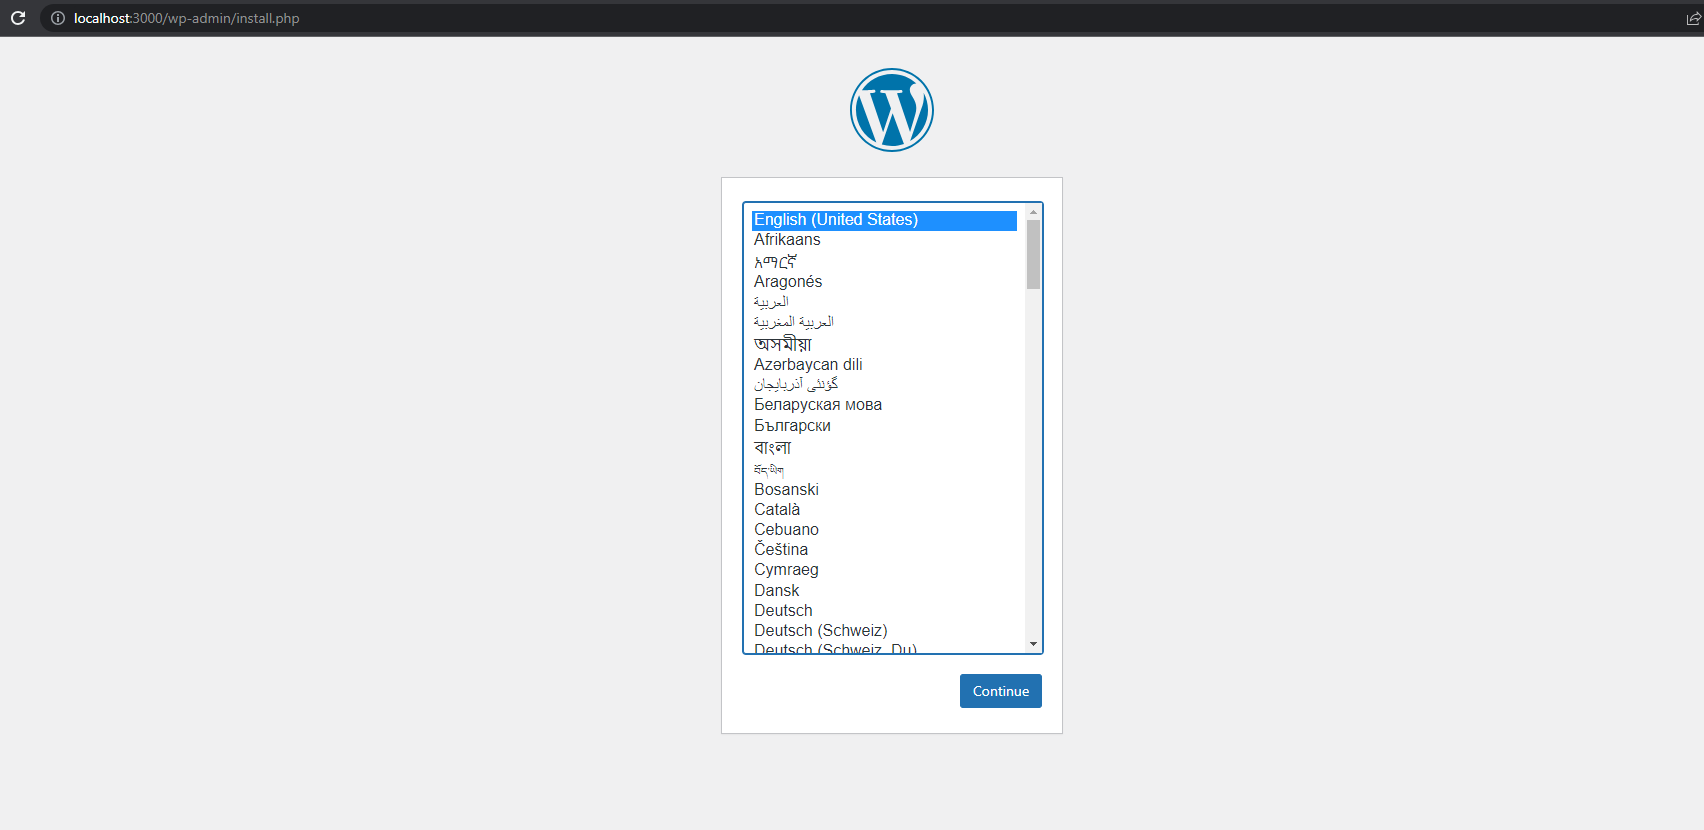 now we need to just follow the steps to install it .
Taking a backup from the official website
There are several methods available for taking backups and managing them within WordPress. However, based on my limited expertise with WordPress, I highly recommend using the “All-in-One WP Migration” plugin, which can be found at https://servmask.com/.
The “All-in-One WP Migration” plugin offers a comprehensive solution for handling backups within WordPress. It simplifies the process of creating backups, allowing you to effortlessly migrate your website from one location to another. With this plugin, you can easily export your entire WordPress installation, including the database, media files, themes, plugins, and more, into a single file. This file can then be imported into a different WordPress installation, making it an efficient and convenient tool for website backups and migrations.
By utilizing the “All-in-One WP Migration” plugin, you can ensure the safety and security of your WordPress website, making it easier to restore or move your site when needed.
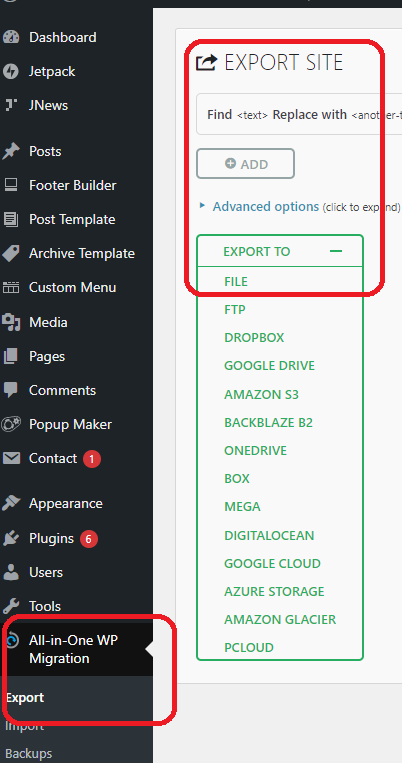 now when I click that ,a file with .wpress extension will be downloaded and you need to install the same one on the local version in order to import it .
Importing the backup on the local environment
Now let’s follow the below step in order to import our file :


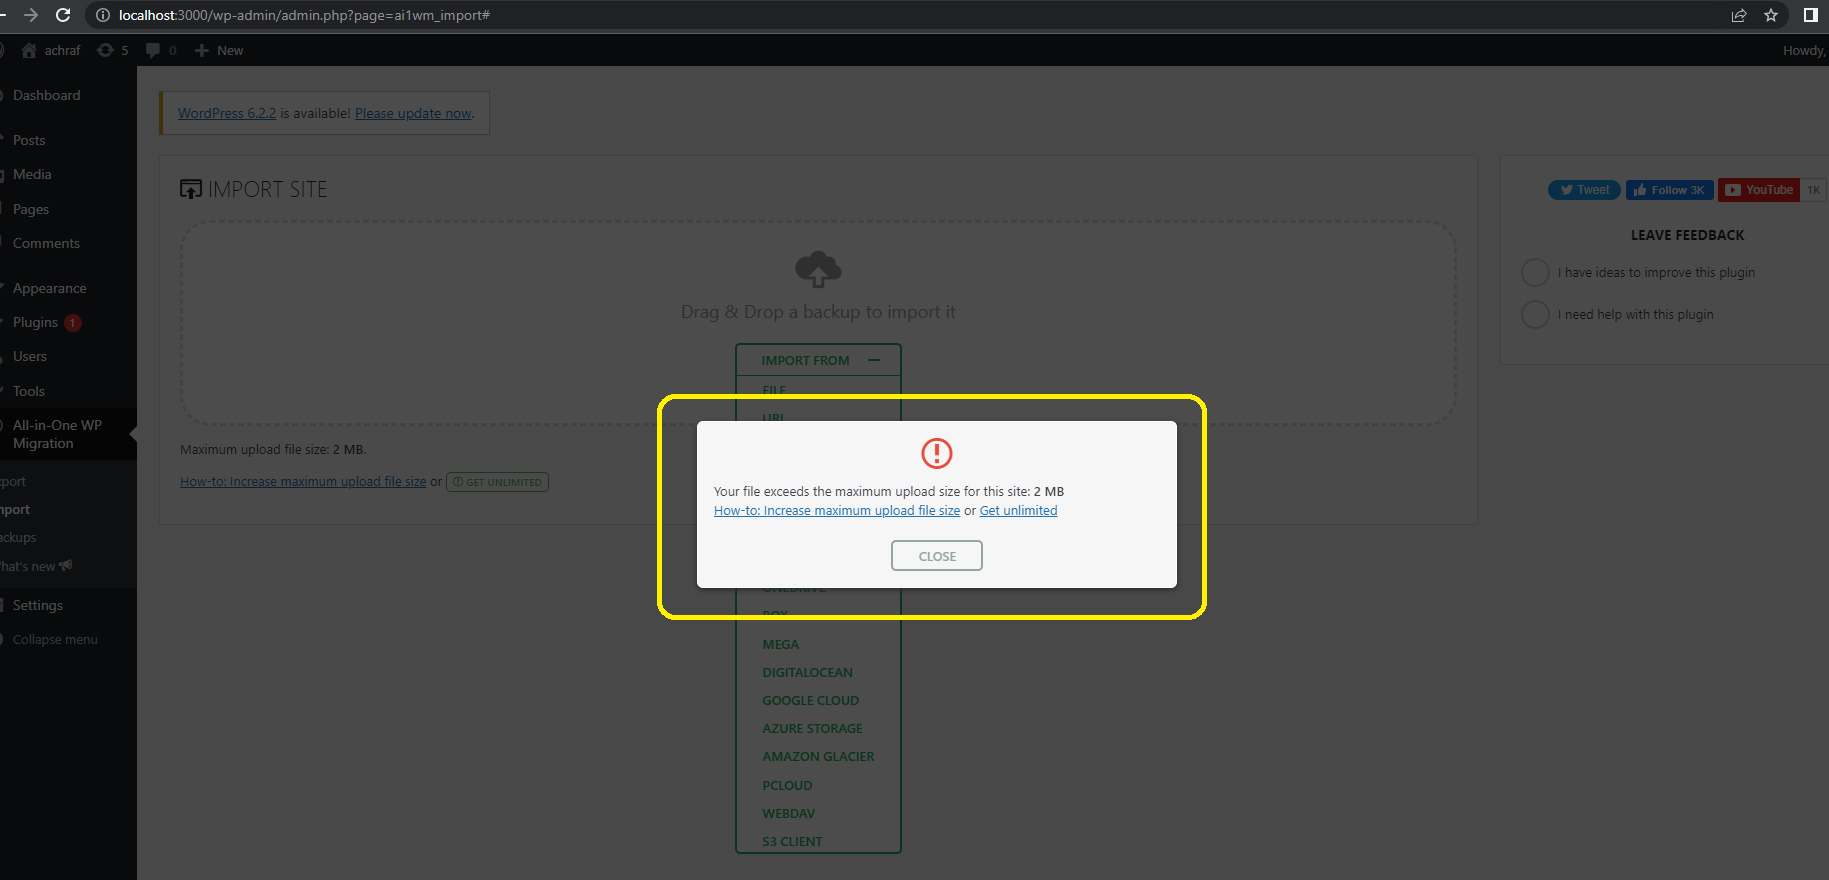 This problem that we have is because wordpress have limit to upload maximum of 2 MB file and in my case it was 700 MB , let’s modify our docker compose file in order to modify the uploads ini file rules .
first , let’s modify our yaml file :
version: '3'

services:
  db:
    image: mysql:latest
    volumes:
      - db_data:/var/lib/mysql
    restart: always
    environment:
      MYSQL_ROOT_PASSWORD: password
      MYSQL_DATABASE: wordpress
      MYSQL_USER: wordpress
      MYSQL_PASSWORD: wordpress

  wordpress:
    depends_on:
      - db
    image: wordpress:latest
    ports:
      - 3000:80
    restart: always
    environment:
      WORDPRESS_DB_HOST: db:3306
      WORDPRESS_DB_USER: wordpress
      WORDPRESS_DB_PASSWORD: wordpress
      WORDPRESS_DB_NAME: wordpress
    volumes:
      - ./uploads.ini:/usr/local/etc/php/conf.d/uploads.ini
      - ./uploads:/var/www/html/wp-content/uploads
volumes:
  db_data:
  uploads:
and in the same directory let’s create the uploads.ini file that will replace the original one
file_uploads = On
memory_limit = 1024M
upload_max_filesize = 1024M
post_max_size = 1024M
max_execution_time = 600
The provided `upload.ini` file contains configuration settings for handling file uploads in a WordPress environment. Let’s break down each directive and its purpose:
1. `file_uploads = On`: This directive enables file uploads on the server. It ensures that the server allows files to be uploaded through PHP scripts.
2. `memory_limit = 1024M`: This directive sets the maximum amount of memory that PHP can allocate for script execution. In this case, it is set to 1024 megabytes (1 gigabyte), allowing PHP to utilize more memory if necessary during file uploads.
3. `upload_max_filesize = 1024M`: This directive determines the maximum size of an individual file that can be uploaded. Here, it is set to 1024 megabytes (1 gigabyte), meaning files of up to this size can be uploaded.
4. `post_max_size = 1024M`: This directive specifies the maximum size of the entire HTTP POST request, which includes all form data, including uploaded files. It is set to 1024 megabytes (1 gigabyte), ensuring that the total request size, including uploaded files, can be as large as this limit.
5. `max_execution_time = 600`: This directive defines the maximum execution time, in seconds, for PHP scripts. It is set to 600 seconds (10 minutes), allowing more time for the server to process file uploads that may take longer.
By configuring the `upload.ini` file with these settings, you are adjusting various parameters related to file uploads in WordPress. These settings allow larger file uploads, increase memory allocation, and provide more execution time for processing uploads, ensuring a smoother experience when handling large files or performing bulk uploads in WordPress.
Now we need to edit remove the old volume from docker and run our command again and login to our website :
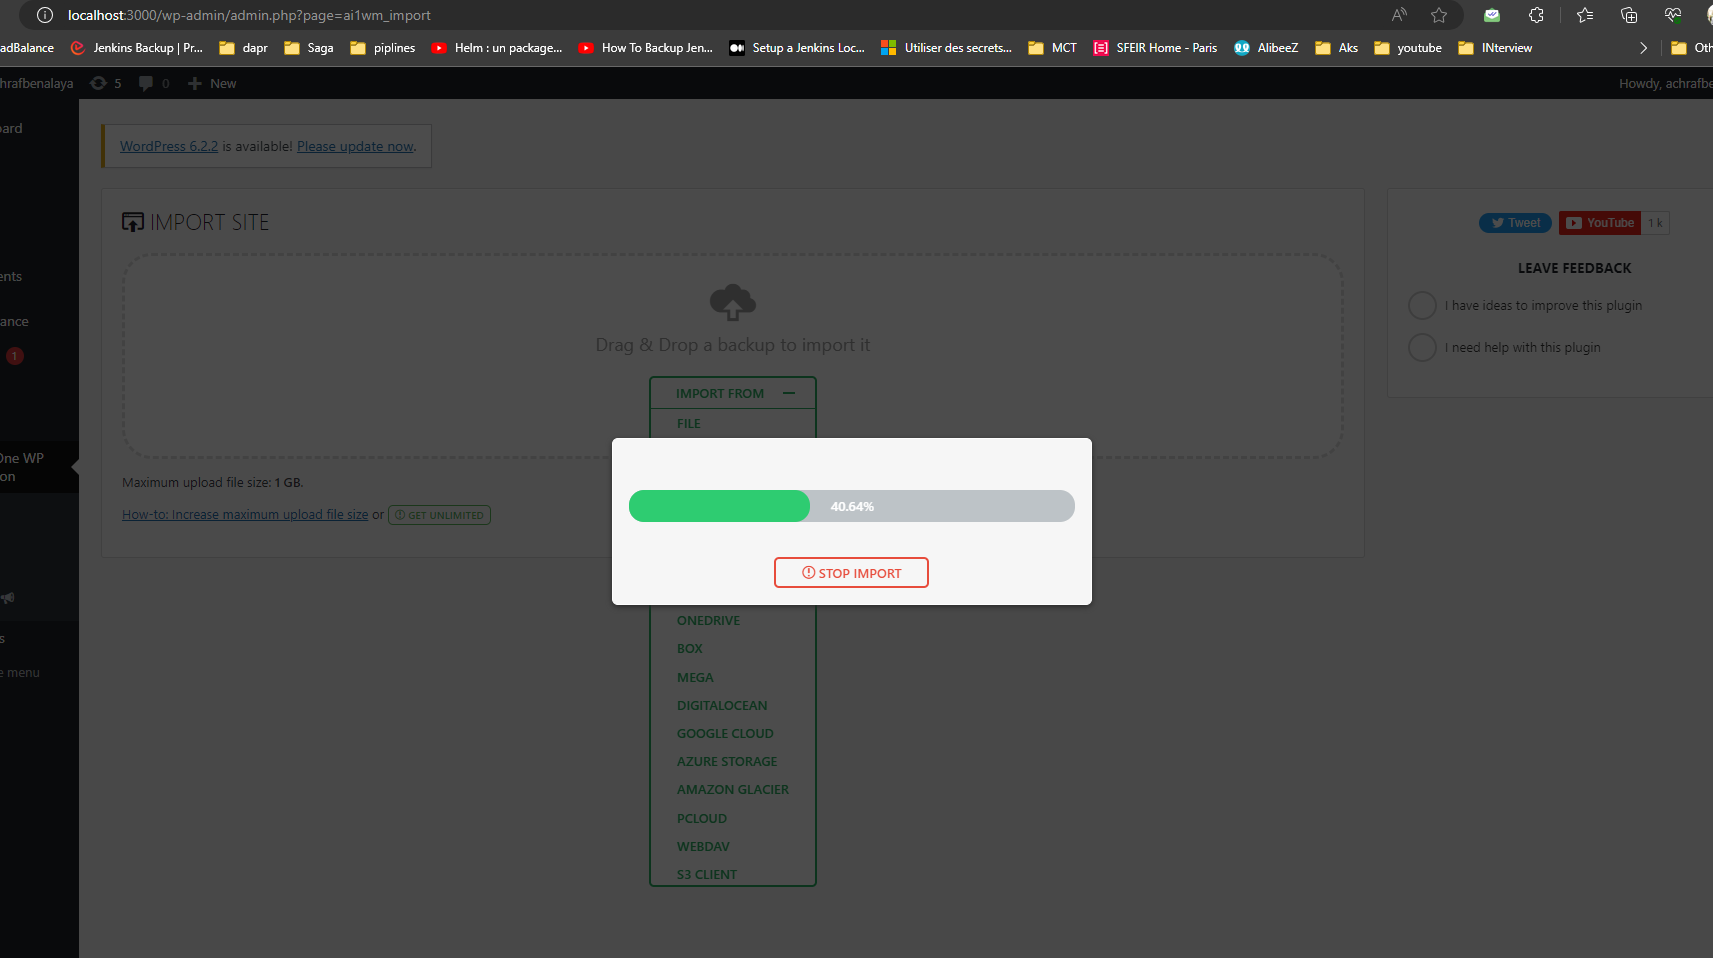
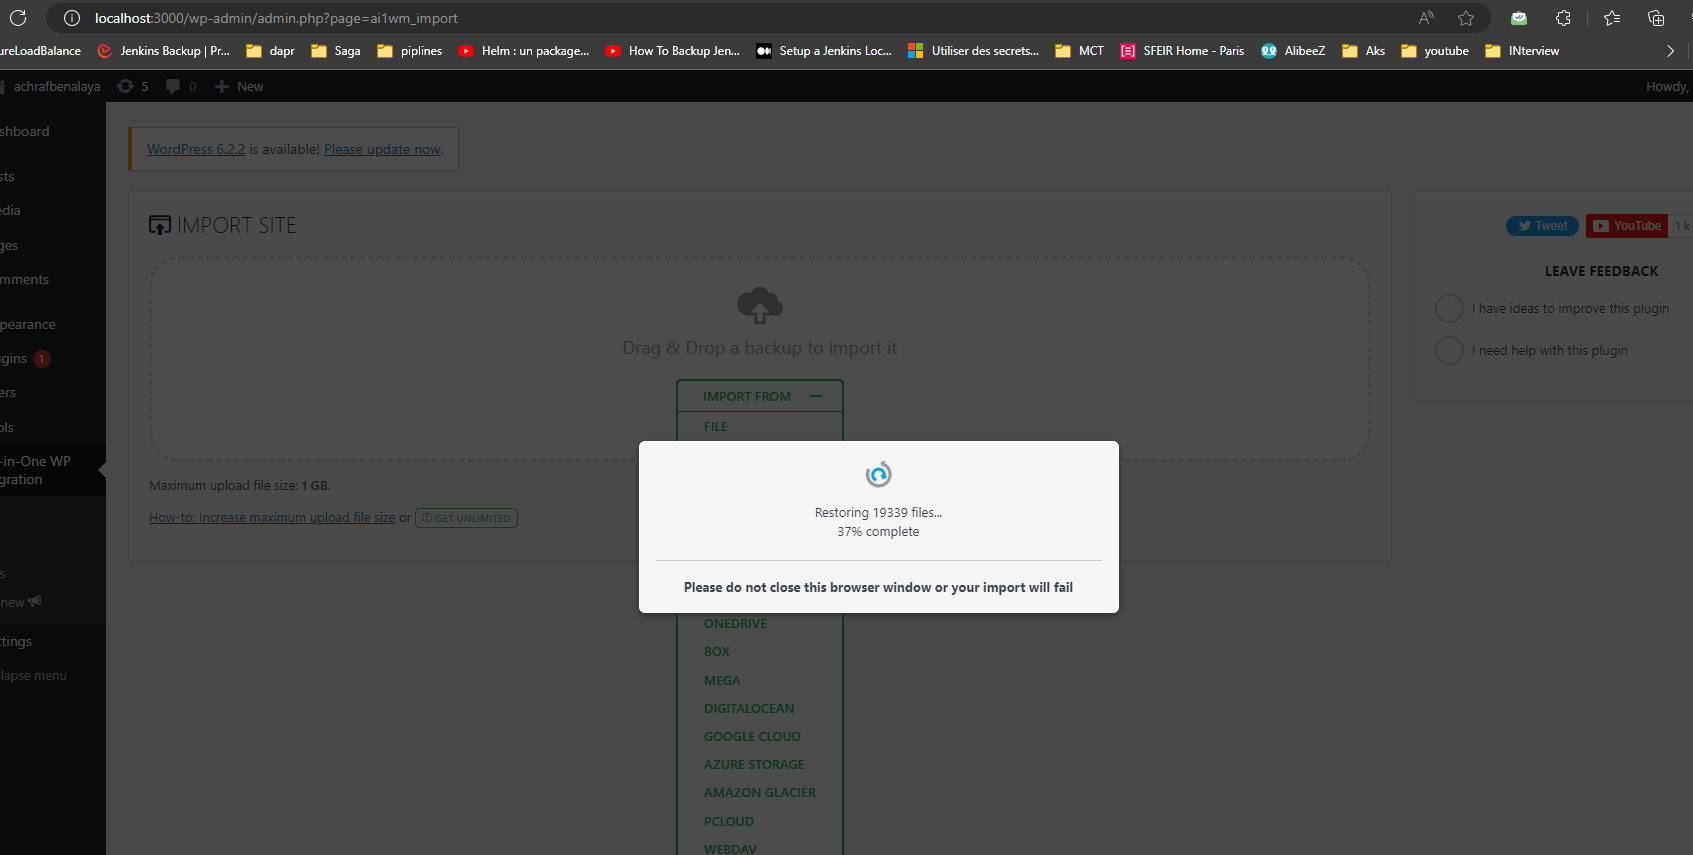 Now our website is being imported on local machine and we can run tests .
Hope this was helpful .


Comments 1