Introduction.
Hangfire is a .Net Library that help to perform background processing in .NET and .NET Core applications in a easy way .
No Windows Service or separate process required.
Backed by persistent storage. Open and free for commercial use.
In this article we are going to create a simple project and will be shared in GitHub repo .
Plan :
1-What is Hangfire
2-Background tasks in ASP.NET Core
3-Setup and Configure Hangfire
4-Secure the Hangfire Dashboard
5-Retention Time
6-Hangfire and SQL server
What is Hangfire :
Hangfire is an open-source framework that helps you to create, process and manage your background jobs, i.e. operations you don’t want to put in your request processing pipeline:
– mass notifications/newsletter .
– batch import from xml, csv, json .
– creation of archives .
– firing off web hooks .
– deleting users .
– building different graphs .
– image/video processing .
– purge temporary files .
– recurring automated reports .
– database maintenance.
Hangfire supports all kind of background tasks – short-running and long-running, CPU intensive and I/O intensive, one shot and recurrent. You don’t need to reinvent the wheel – it is ready to use.
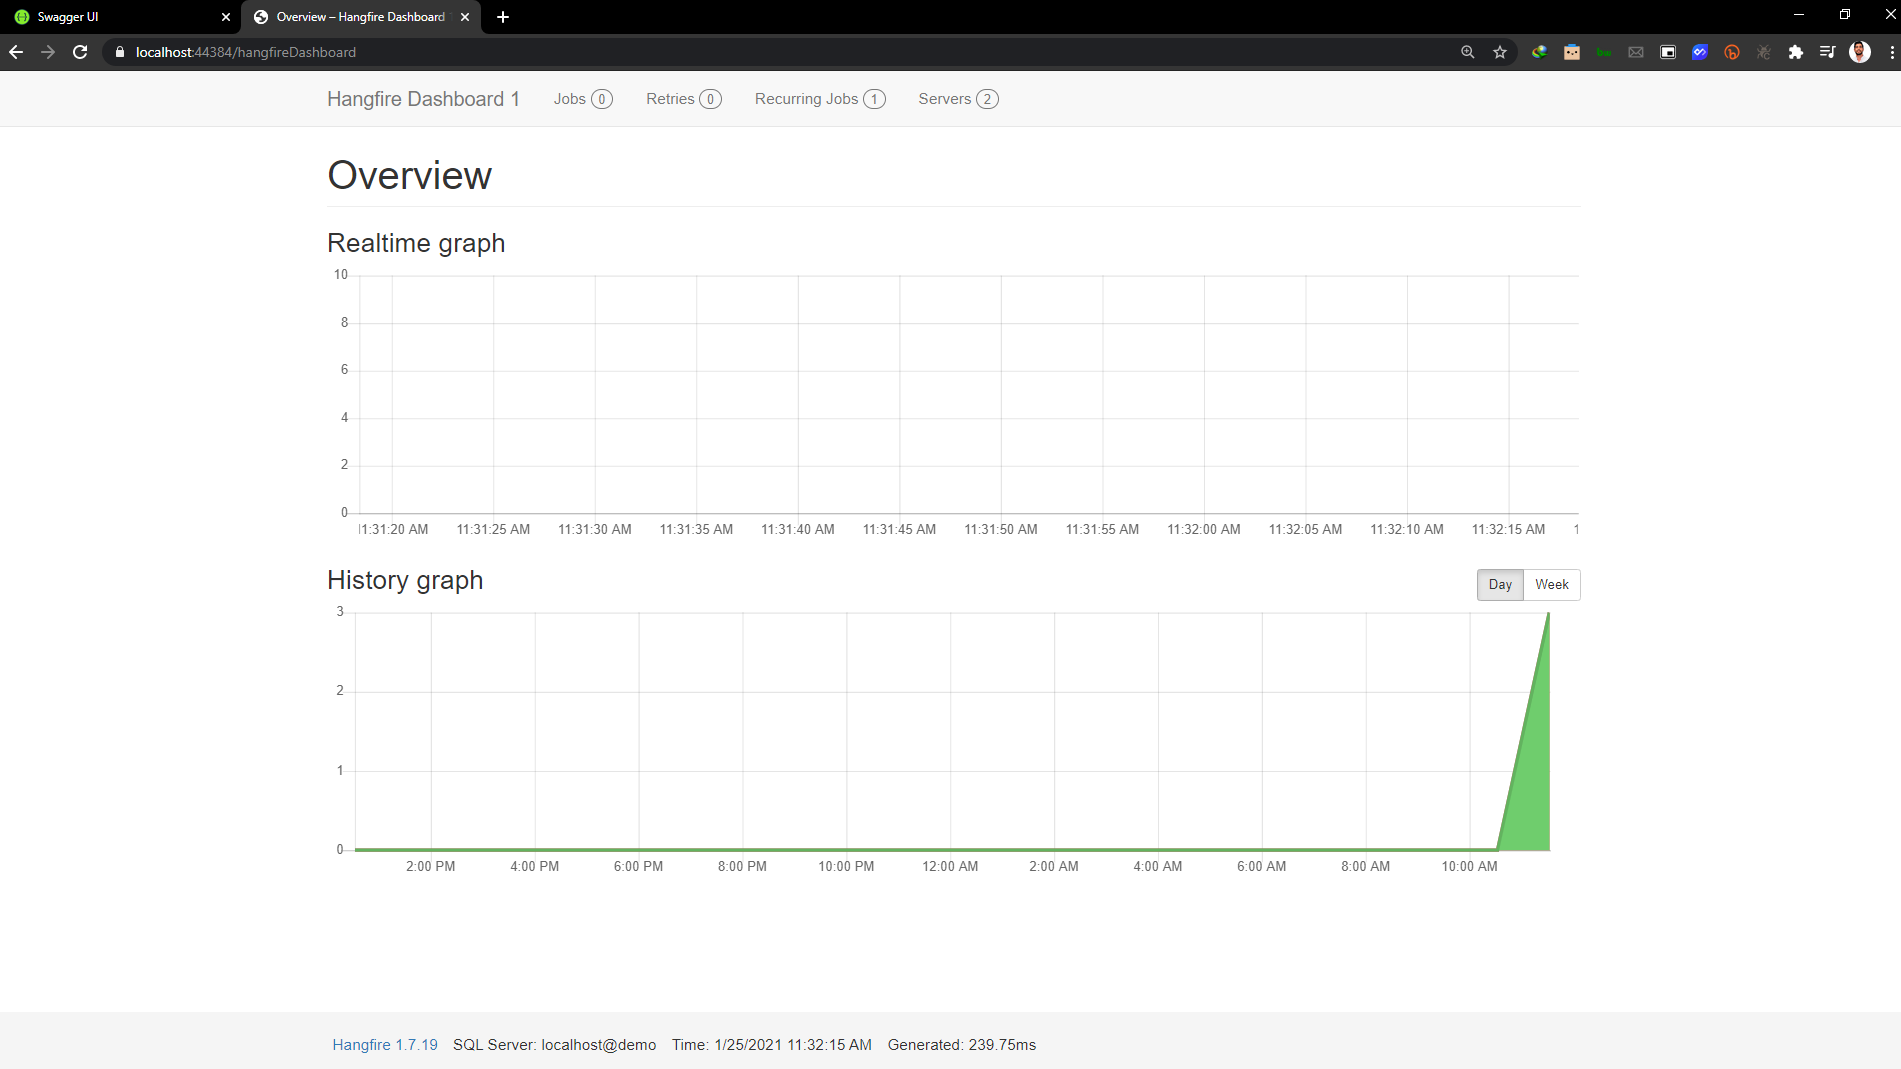
Hangfire is shipped with an awesome tool – Web Monitoring UI. It is implemented as an OWIN extension and can be hosted inside any application – ASP.NET, Console or Windows Service. Monitoring UI allows you to see and control any aspect of background job processing, including statistics, exceptions and background job history.
Background tasks in ASP.NET Core :
Background tasks and scheduled jobs are something you might need to use in any application,sometimes it is necessary to schedule and create long-running methods for our .NET Core applications.
Note :
If you are using cloud you can use in Azure :
Azure WebJobs

A formal Azure feature used for offloading running of background tasks outside of your Website and scale the workload.
Azure Worker Role in a Cloud Service :
Scale the background processing workload independently of your Website and you need control over the machine .
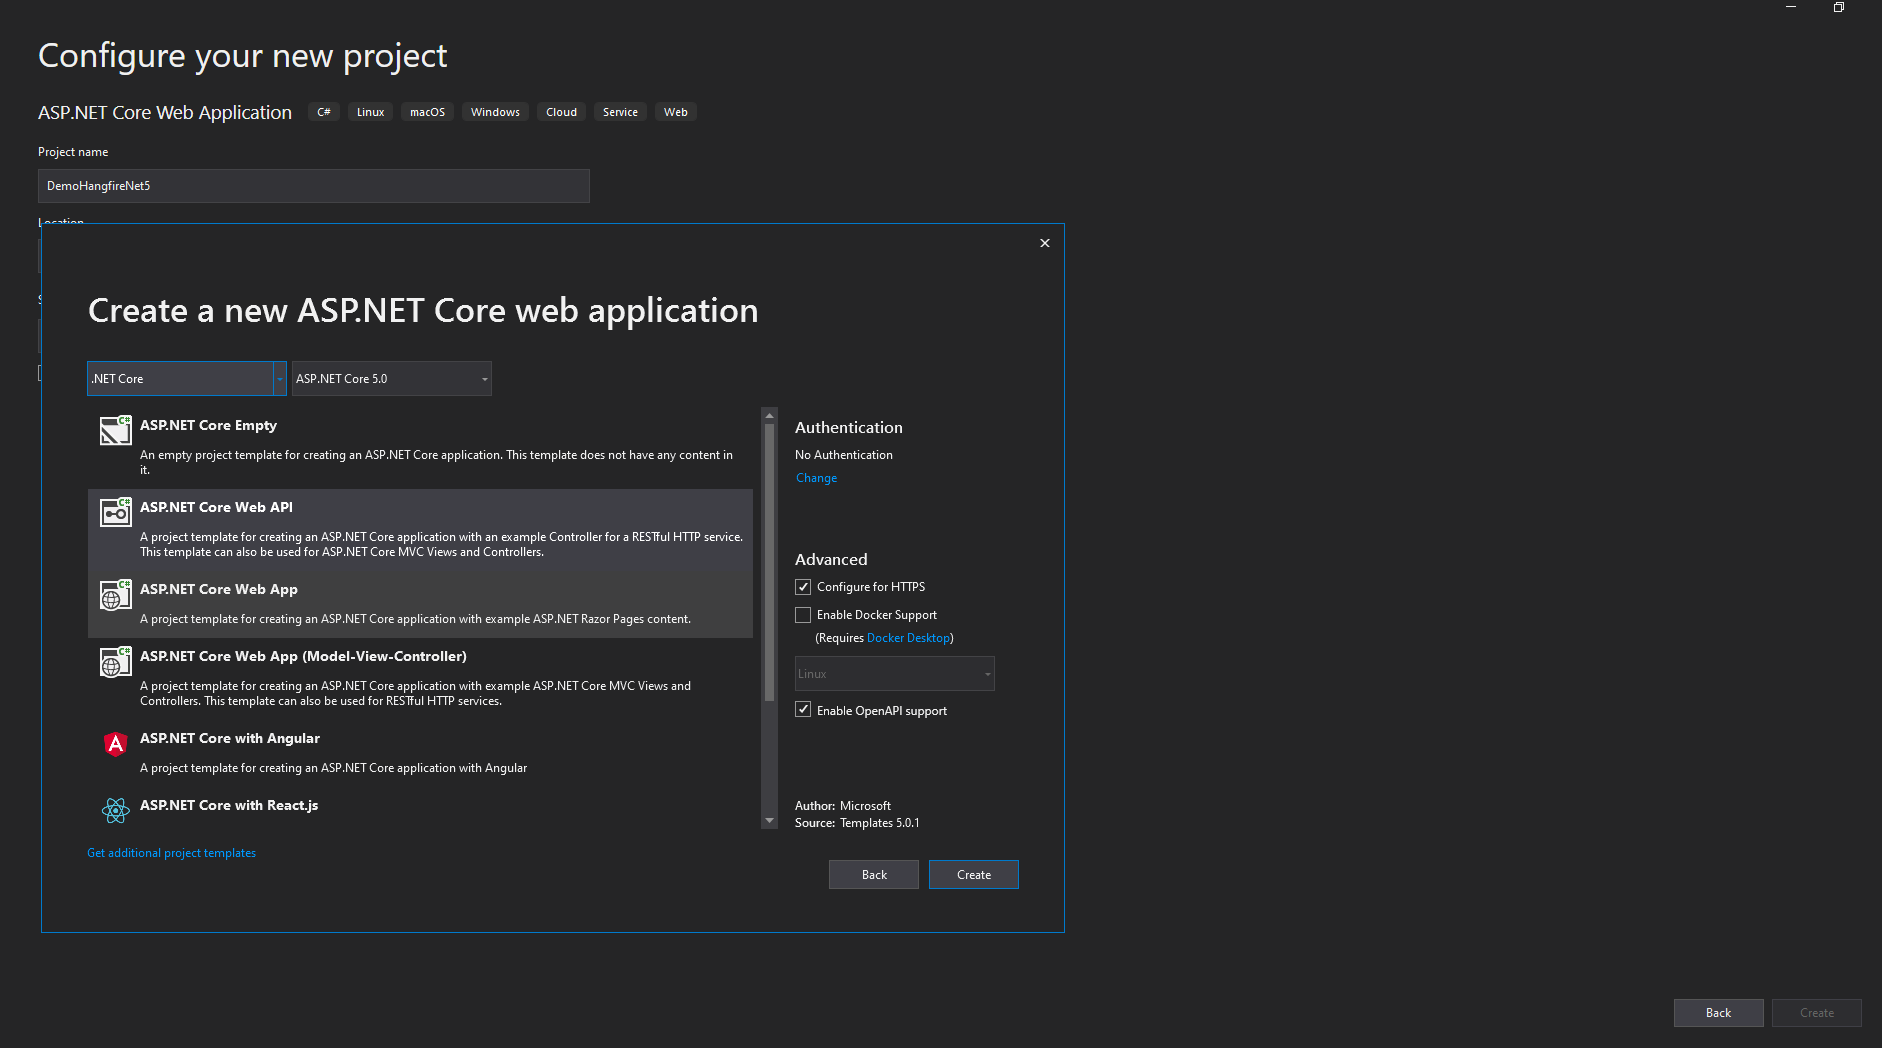
Setup and Configure Hangfire
First we are going to create a new project than we are going to install few nuget packages to our project so we can use hangfire .
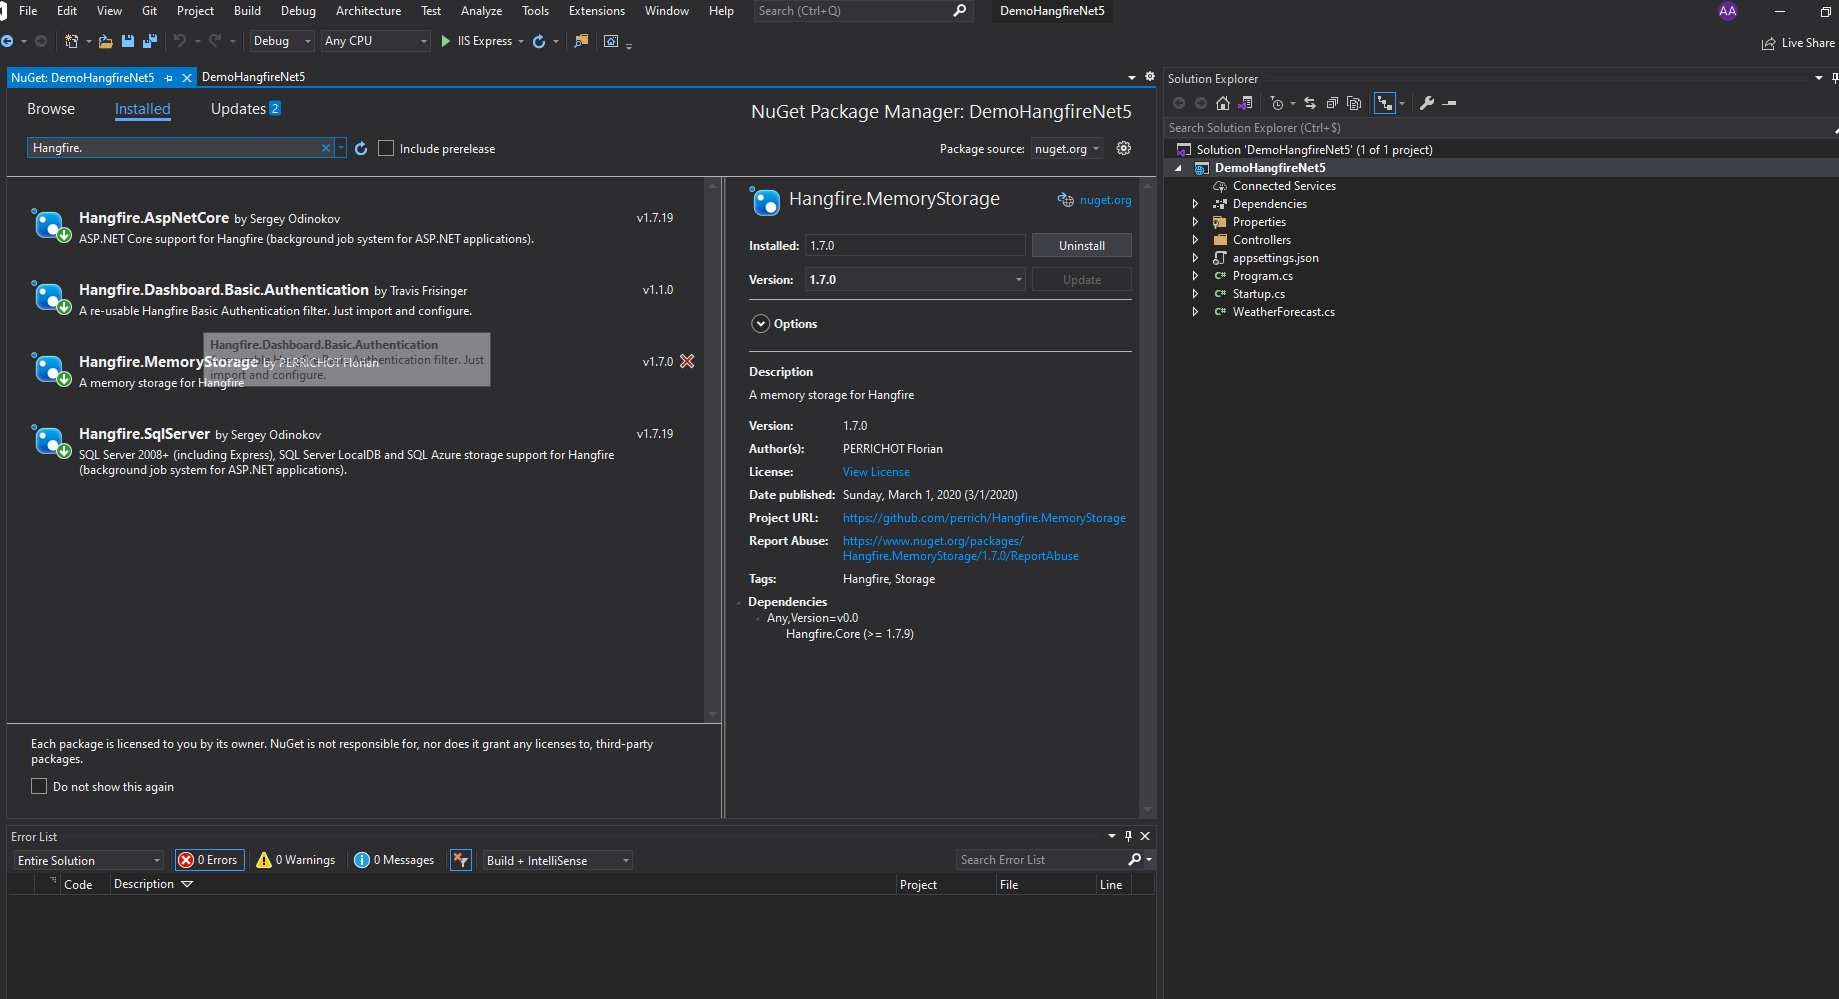
- Hangfire.AspNetCore .
Hangfire.SqlServer .
Hangfire.MemoryStorage .
Hangfire.Dashboard.Basic.Authentication .
Create Model :
using System;
using System.Collections.Generic;
using System.ComponentModel.DataAnnotations;
using System.Linq;
using System.Threading.Tasks;

namespace Hangfire.Model
{
    public class Student
    {
        [Key]
        public int Id { get; set; }
        public string StudentName { get; set; }
        public string StudentProblem { get; set; }
    }
}
AppDbContext
using Hangfire.Model;
using Microsoft.EntityFrameworkCore;
using System;
using System.Collections.Generic;
using System.Linq;
using System.Threading.Tasks;

namespace DemoHangfireNet5.AppDbContext
{
    public partial class StudentDbContext : DbContext
    {
        public StudentDbContext(DbContextOptions options) : base(options)
        {

        }
        public DbSet<Student> Students { get; set; }
    }
}
appsettings.json
{
  "Logging": {
    "LogLevel": {
      "Default": "Information",
      "Microsoft": "Warning",
      "Microsoft.Hosting.Lifetime": "Information"
    }
  },
  "AllowedHosts": "*",
  "ConnectionStrings": {
    "myconnection": "Server=localhost; database=demo;Trusted_Connection=True;"
  }
}
Then we have to create the table using the below migration commands in the package manager console.
Creates migration folder and migration script inside the target project.
Add-Migration 'MigrationName1'
The next command executes the migration script and creates a table in the database
Update-Database
Note : if you have problem with The term “Add-Migration” is not recognized you ” , you should Just install Microsoft.EntityFrameworkCore.Tools package from nuget.
Services
IStudentService.cs

namespace DemoHangfireNet5.Services
{
    public interface IStudentService
    {
        Task<bool> InsertStudentsAsync();
    }
}
   public class StudentService : IStudentService
    {
        #region Property
        private readonly StudentDbContext _StudentDbContext;
        #endregion

        public StudentService(StudentDbContext StudentDbContext)
        {
            _StudentDbContext= StudentDbContext;
        }

        public async Task<bool> InsertStudentsAsync()
        {
            try
            {
                Student _Student = new Student()
                {
                    StudentName = "Alex",
                    StudentProblem = "Failing to network"

                };
                await _StudentDbContext.AddAsync(_Student);
                await _StudentDbContext.SaveChangesAsync();
                return true;
            }
            catch (Exception)
            {

                throw;
            }
        }
    }
background tasks :
Jobs

using DemoHangfireNet5.Services;
using System;
using System.Collections.Generic;
using System.Linq;
using System.Threading.Tasks;

namespace DemoHangfireNet5.Jobs
{
    public class Job
    {
        #region Property
        private readonly IStudentService _IStudentService;
        #endregion

        #region Constructor
        public Job(IStudentService IStudentService)
        {
            _IStudentService = IStudentService;
        }
        #endregion

        #region Job Scheduler
        public async Task<bool> JobAsync()
        {
            var result = await _IStudentService.InsertStudentsAsync();
            return true;
        }
        #endregion
    }
}
Note : do not forget to inject the service in startup.cs
services.AddTransient<IStudentService, StudentService>();
using DemoHangfireNet5.Services;
using Microsoft.AspNetCore.Builder;
using Microsoft.AspNetCore.Hosting;
using Microsoft.AspNetCore.HttpsPolicy;
using Microsoft.AspNetCore.Mvc;
using Microsoft.Extensions.Configuration;
using Microsoft.Extensions.DependencyInjection;
using Microsoft.Extensions.Hosting;
using Microsoft.Extensions.Logging;
using Microsoft.OpenApi.Models;
using System;
using System.Collections.Generic;
using System.Linq;
using System.Threading.Tasks;
using HangfireBasicAuthenticationFilter;
using DemoHangfireNet5.AppDbContext;
using Microsoft.EntityFrameworkCore;
using Hangfire;
using DemoHangfireNet5.Jobs;

namespace DemoHangfireNet5
{
    public class Startup
    {
        private static IStudentService IStudentService;
        private readonly Job jobscheduler = new Job(IStudentService);
        public Startup(IConfiguration configuration)
        {
            Configuration = configuration;
        }

        public IConfiguration Configuration { get; }

        // This method gets called by the runtime. Use this method to add services to the container.
        public void ConfigureServices(IServiceCollection services)
        {

            services.AddControllers();
            services.AddSwaggerGen(c =>
            {
                c.SwaggerDoc("v1", new OpenApiInfo { Title = "DemoHangfireNet5", Version = "v1" });
            });


            #region Configure Connection String
            services.AddDbContext<StudentDbContext>(item => item.UseSqlServer(Configuration.GetConnectionString("myconnection")));
            #endregion

            #region Configure Hangfire
            services.AddHangfire(c => c.UseSqlServerStorage(Configuration.GetConnectionString("myconnection")));
            GlobalConfiguration.Configuration.UseSqlServerStorage(Configuration.GetConnectionString("myconnection")).WithJobExpirationTimeout(TimeSpan.FromDays(7));
            #endregion

            #region Services Injection
            services.AddTransient<IStudentService, StudentService>();
            #endregion

        }


        // This method gets called by the runtime. Use this method to configure the HTTP request pipeline.
        public void Configure(IApplicationBuilder app, IWebHostEnvironment env)
        {
            if (env.IsDevelopment())
            {
                app.UseDeveloperExceptionPage();
                app.UseSwagger();
                app.UseSwaggerUI(c => c.SwaggerEndpoint("/swagger/v1/swagger.json", "DemoHangfireNet5 v1"));
            }

            app.UseHttpsRedirection();

            app.UseRouting();

            app.UseAuthorization();

            app.UseEndpoints(endpoints =>
            {
                endpoints.MapControllers();
            });
        }
    }
}
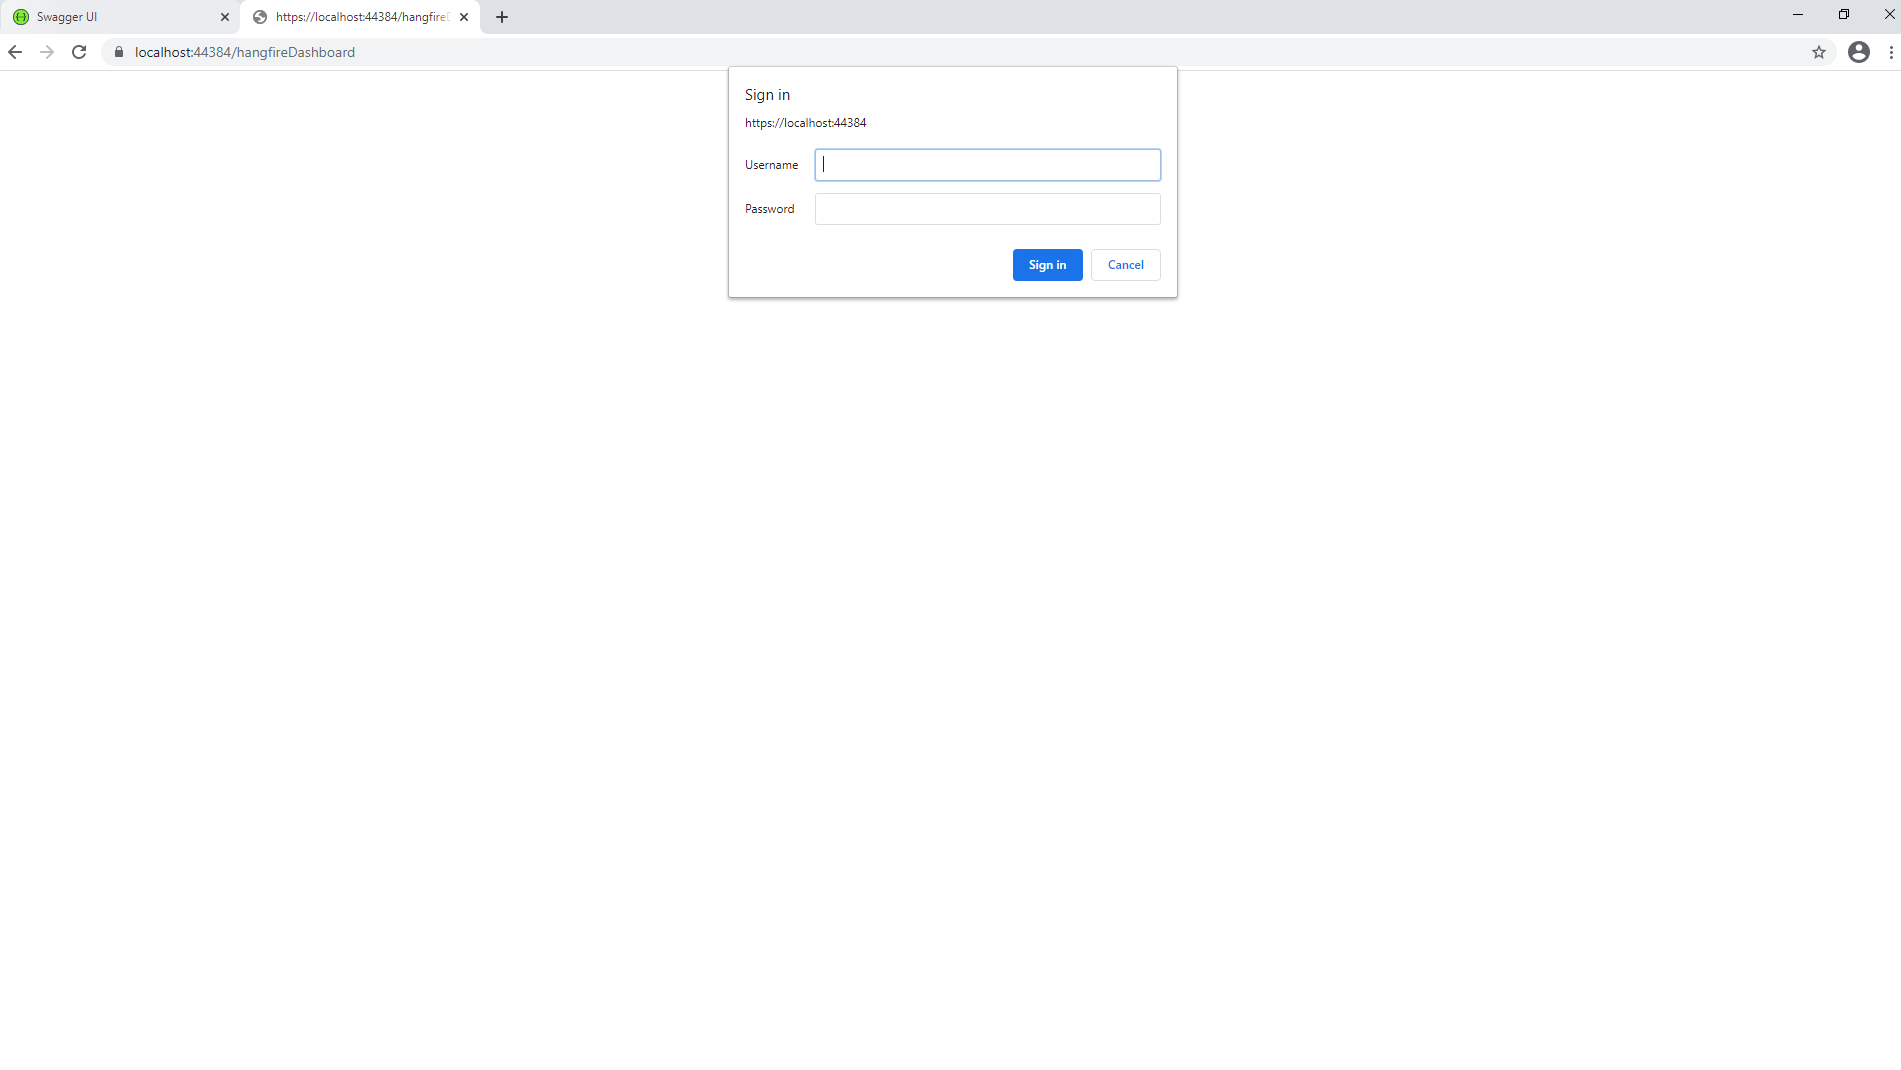
Secure the Hangfire Dashboard
To Secure the hangfire dashboard we setup login authentication in order to access the hangfire dashboard. I have hardcoded the username and password in the appsettings.js file to consume those in the startup.cs
"HangfireCredentials": {
"UserName": "adminadmin",
"Password": "admin@xxx#"
}
in startup.cs
app.UseHangfireDashboard("/hangfire", new DashboardOptions()
{
    AppPath = null,
    DashboardTitle = "Hangfire Dashboard",
    Authorization = new[]{
    new HangfireCustomBasicAuthenticationFilter{
        User = Configuration.GetSection("HangfireCredentials:UserName").Value,
        Pass = Configuration.GetSection("HangfireCredentials:Password").Value
    }
},
});
Hangfire Retention Time
Usually, the hangfire jobs running in the background will elapse for 24 hours.
To avoid this I have to enable the basic setting to last this job in the dashboard for at least 2 week.
Startup.cs
GlobalConfiguration.Configuration.UseSqlServerStorage(Configuration.GetConnectionString("myconn")).WithJobExpirationTimeout(TimeSpan.FromDays(14));
Persistence with SQL Database
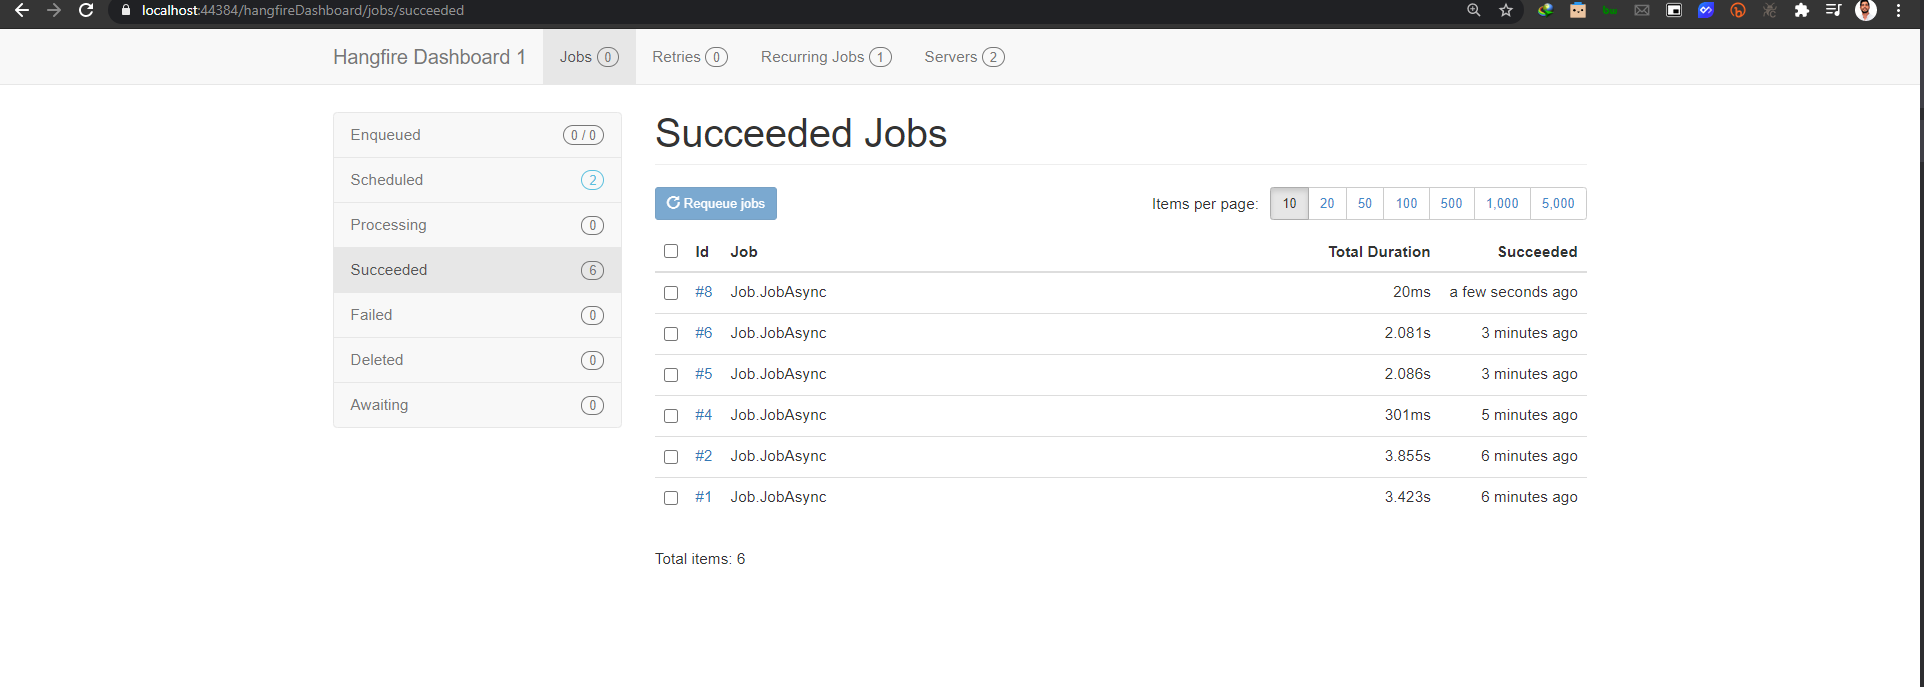
Hangfire has an option to store all the job-related information in the database.
For this we don’t need anything we have to configure this setup in the Startup.cs and it automatically creates all the tables where we can see the job status and respective information in those tables.
services.AddHangfire(c => c.UseSqlServerStorage(Configuration.GetConnectionString("myconn")));
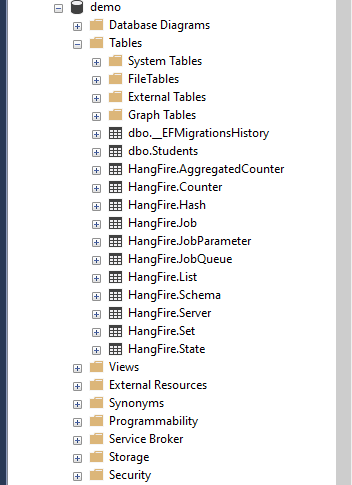
The above set of tables were created automatically when we configured the setup and point to the database.
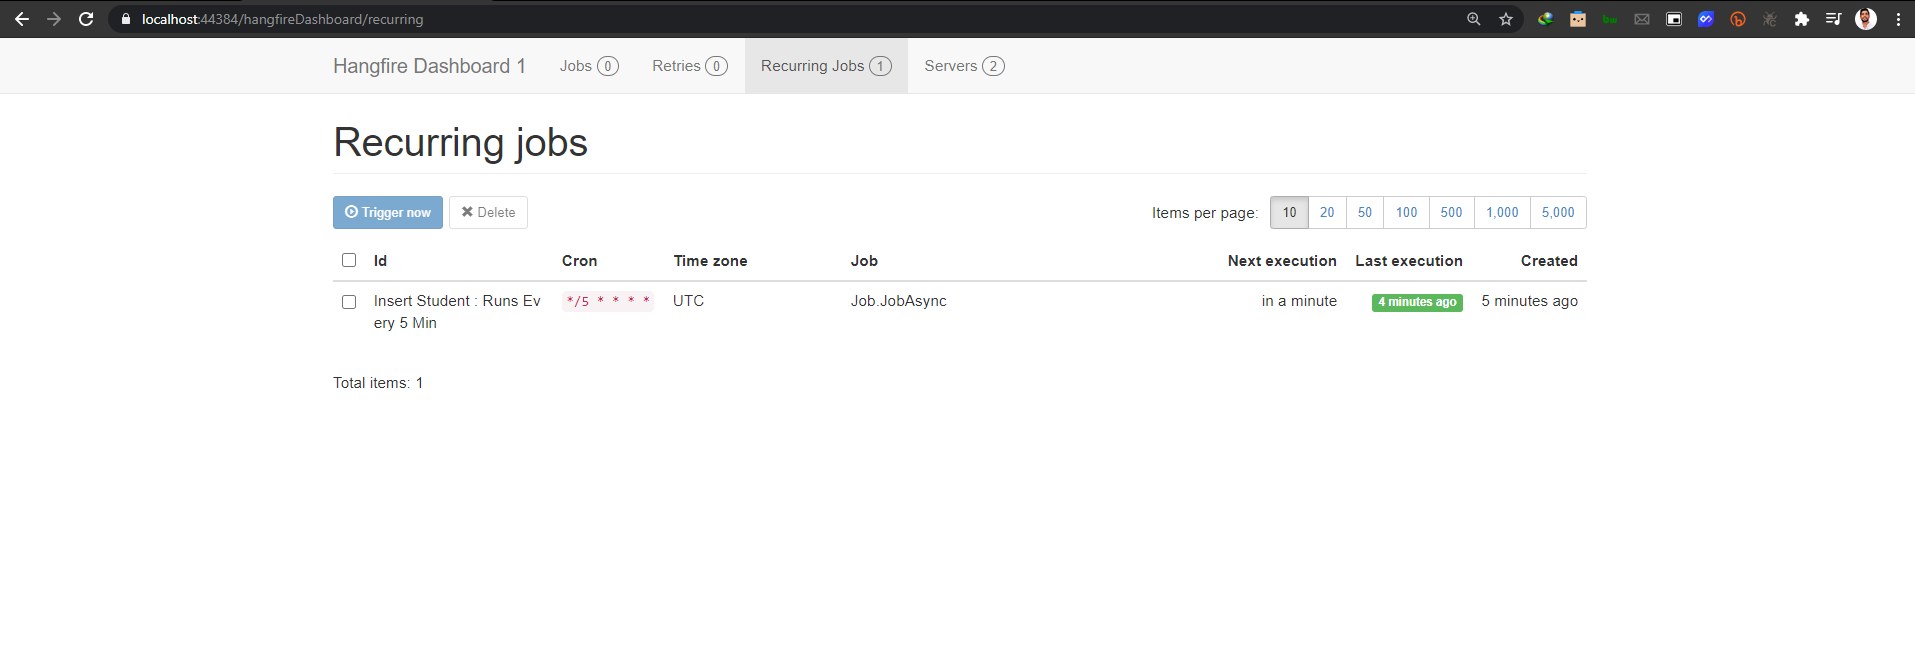
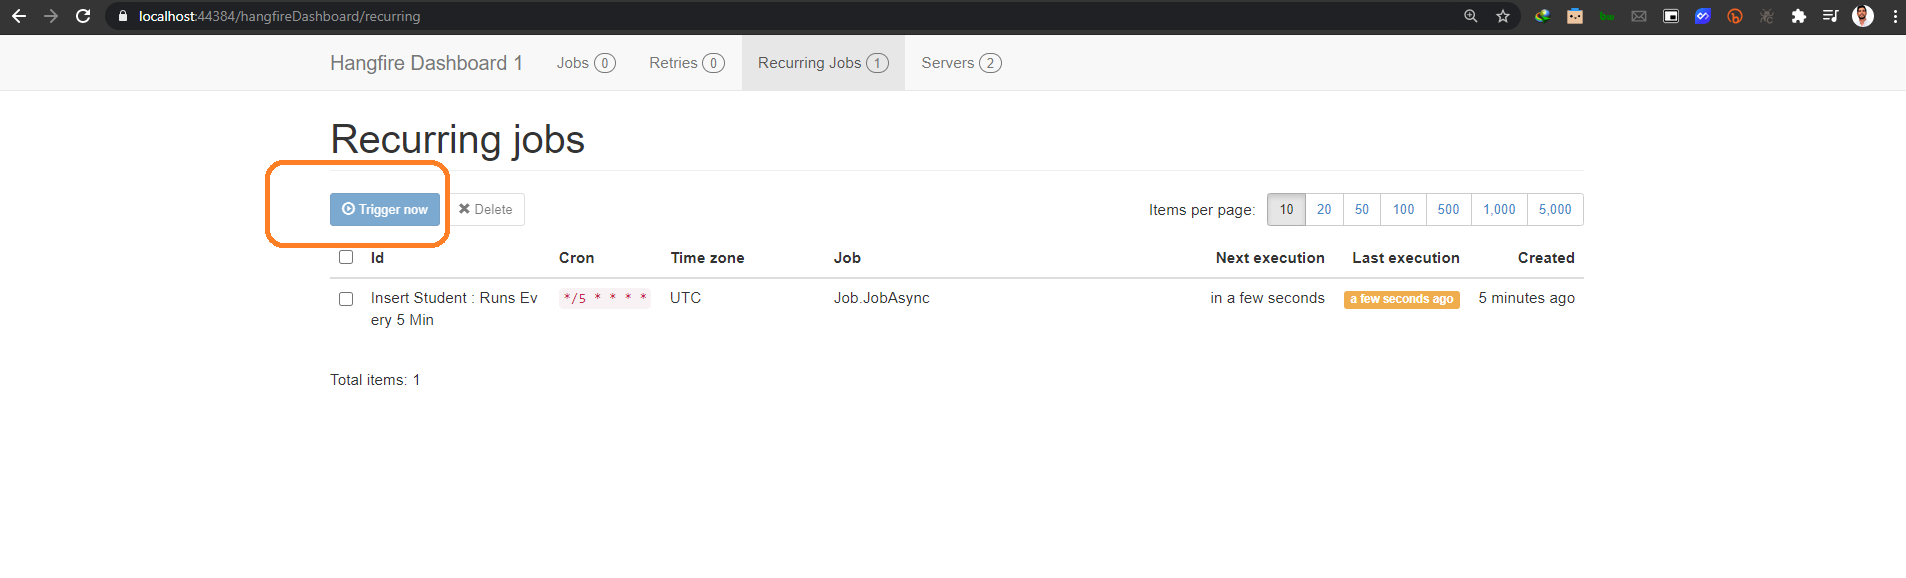
There are 4 types of jobs that mostly we will use :
#region Job Scheduling Tasks
// Recurring Job for every 5 min
recurringJobManager.AddOrUpdate("Insert Employee : Runs Every 1 Min", () => jobscheduler.JobAsync(), "*/5 * * * *");

//Fire and forget job
var jobId =  backgroundJobClient.Enqueue(() => jobscheduler.JobAsync());

//Continous Job
backgroundJobClient.ContinueJobWith(jobId, () => jobscheduler.JobAsync());

//Schedule Job / Delayed Job

backgroundJobClient.Schedule(() => jobscheduler.JobAsync(), TimeSpan.FromDays(5));
#endregion
– Recurring job – Every 5 minutes the background task runs and inserts data into database (you can use this website to understand the cron jobs time : https://crontab.guru/#*/5)
– Fire and Forget – This job runs only once when we run the application.
– Continuous Job – When we want to run jobs one after another at that time this will be useful so that it will execute one by one.
– Schedule Job – If you want to schedule a task to run at a particular time.
Run the application
By default, the swagger endpoint will open. Now type hangfireDashboard as we defined in the URL by removing the swagger. It will ask for a username and password as we had already set up the authentication mechanism .
Link to project : https://bit.ly/3sSte6H