Code
For our demo We are going to build a simple basic react application , so you don’t have to know a lot about react , all we are going to build or use is a demo project .
If you want to read more about the Azure Static Web App Service follow this link .
Creating the react application
to build a react application we are going to use a couple of commands :
“Make sure you have a recent version of Node.js installed”
npx create-react-app my-app
now we need to go where we have created our app using
cd my-app
cd src

# If you're using a Mac or Linux:
rm -f *

# Or, if you're on Windows:
del *

# Then, switch back to the project folder
cd ..
now , you are inside the react application , if you open the solution using visual studio code you should see this content :
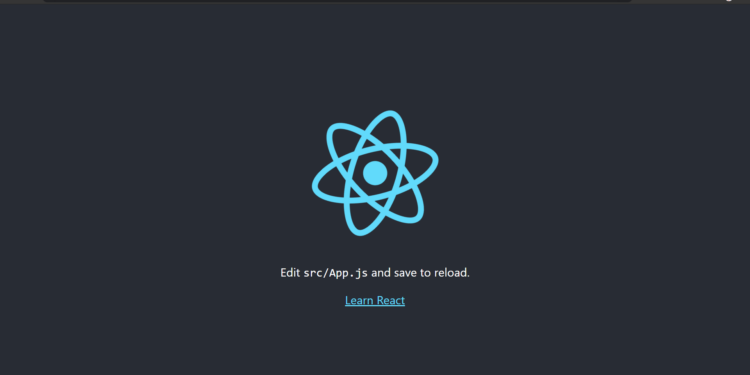
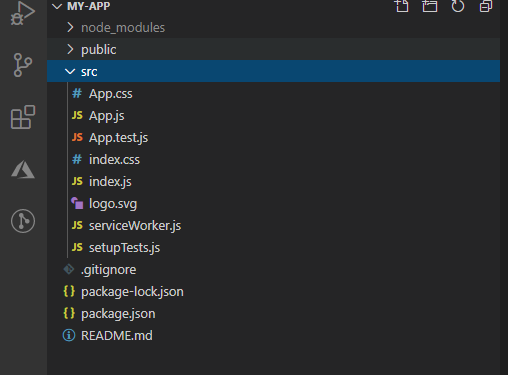 Now if you run npm start
 in the project folder and open http://localhost:3000
Pushing code to GitHub
Now after building our project on our local computer ,we are now going to push it to github .
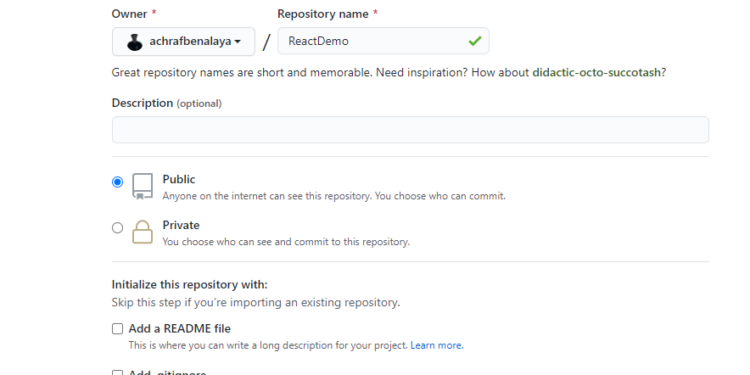
For that we need to create a new repository :
Now to push our solution to GitHub we are going to use a couple of commands :
git add -A
git commit -m "first commit"
git branch -M master
git remote add origin https://github.com/achrafbenalaya/ReactDemo.git
git push -u origin master
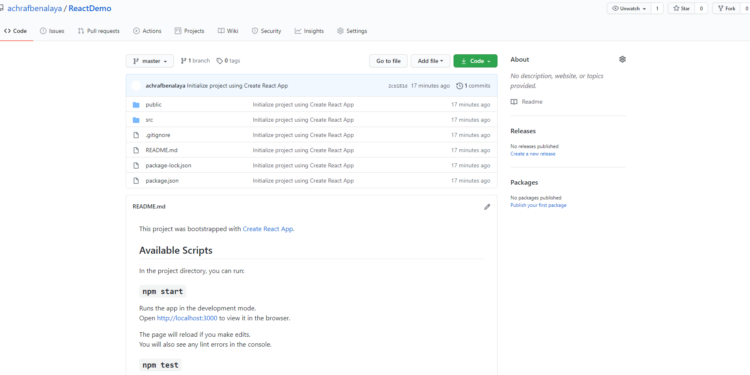
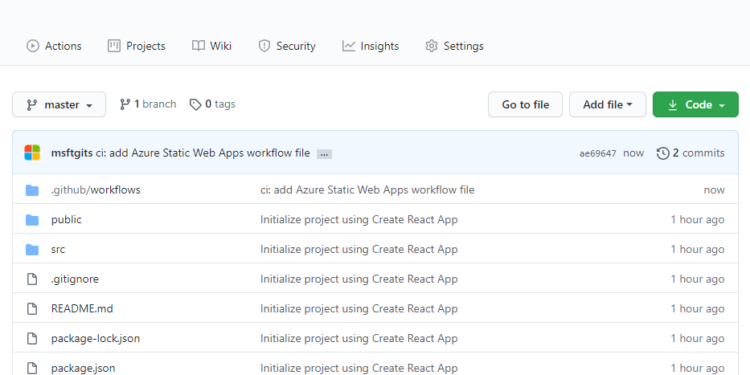
Run those commands one by one and your code will be pushed to GitHub as in picture below .
Create Static Web App
If you don’t have an azure account you can create your Azure free account today and 12 months of free services
from this link .
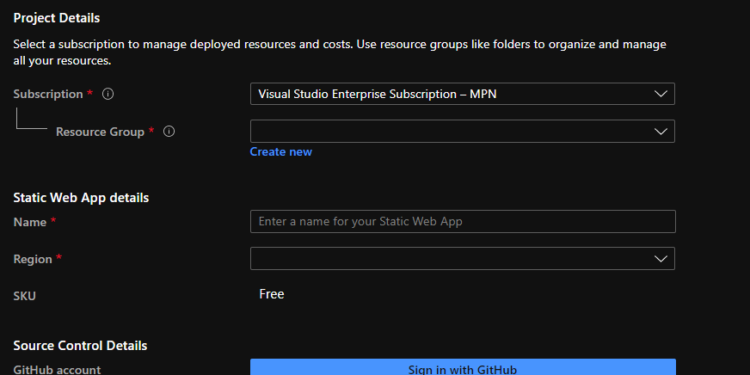
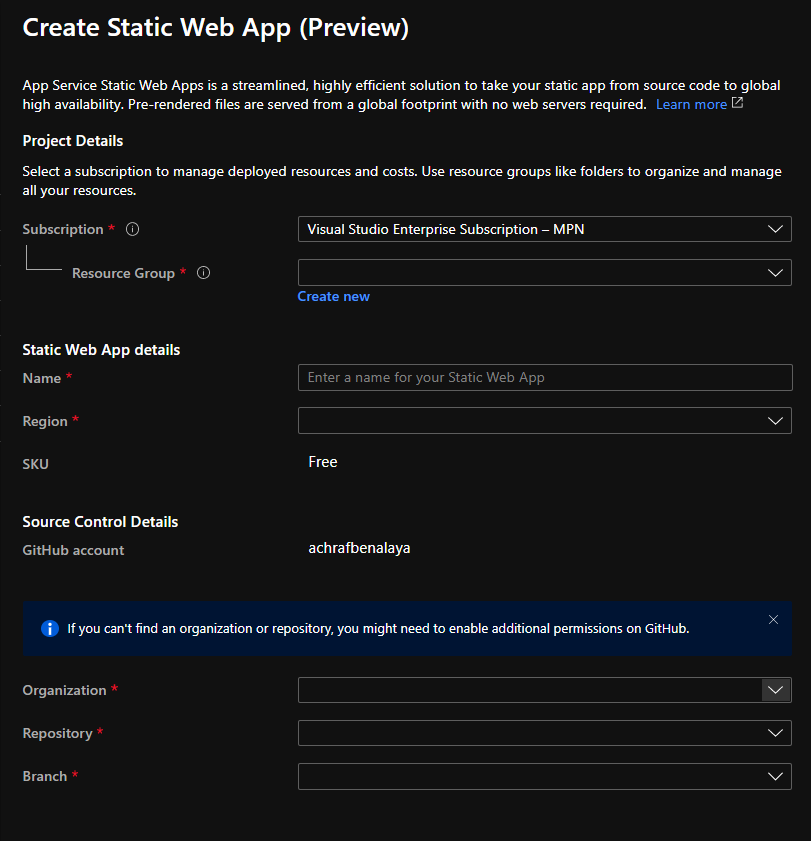
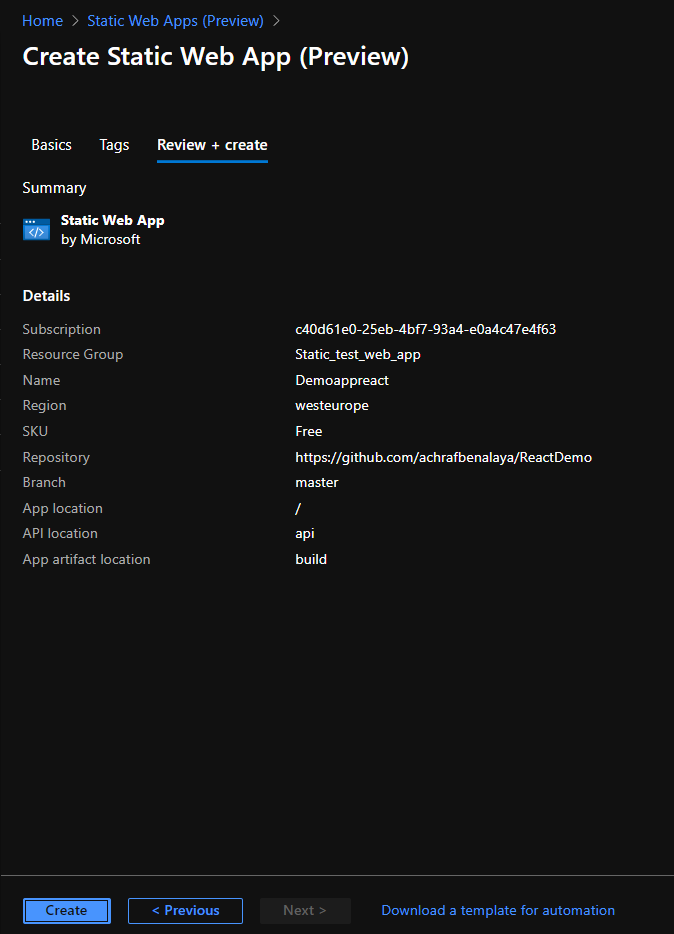
Now when you login to the portal you should look for static web app and clique on create and you will have the same as in the picture below :
Now , you should fill the data with a resource group (you can create a new one by cliquing on Create new) .
You should also give your application a name and choose a region, next we are going to build a trust connection between azure and GitHub by cliquing on Sign in with GitHub .
A new fields will appear where you need to choose your organization , the repository that you have created for the application and the branch (in our case we only have one branch and its the Master ) .
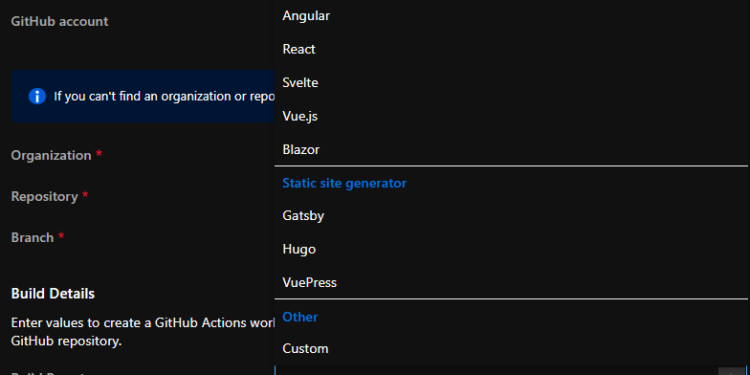
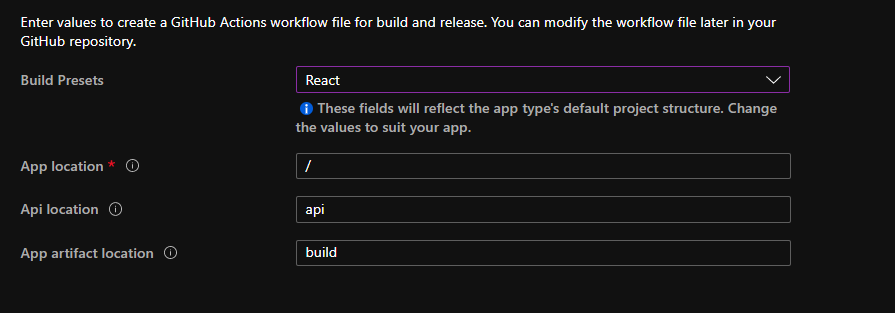
After you fill those fields, a new field will appear were you have to choose the framework that you have worked with ,in our case it’s react
In our case , we don’t have an api ,we are not going to consume and api we are just going to build a static web app, for that , be carful to to delete the ‘build’ for the app artifact location .
App artifact location is the path of your build output relative to your apps location. For example, setting a value of ‘build’ when your app location is set to ‘/app’ will cause the content at ‘/app/build’ to be served.
Now when you are going to clique on ‘Create’ Azure will use GitHub actions to deploy your webpage. If you head over to the app overview tab you will notice a “Workflow File” link.
If you open the file, you will see it contains the GitHub action config for CI/CD pipeline.
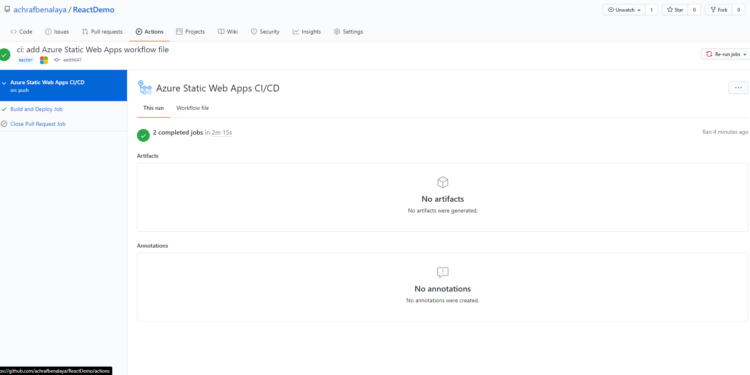
if you go and clique on Actions , you will see that the pipeline already started
Now let’s check the service that we have created on azure :
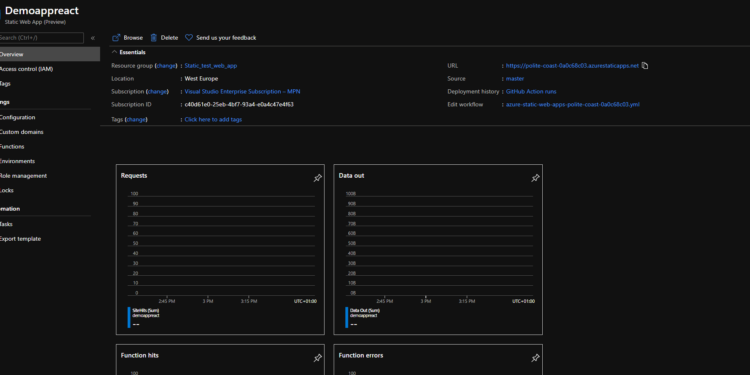
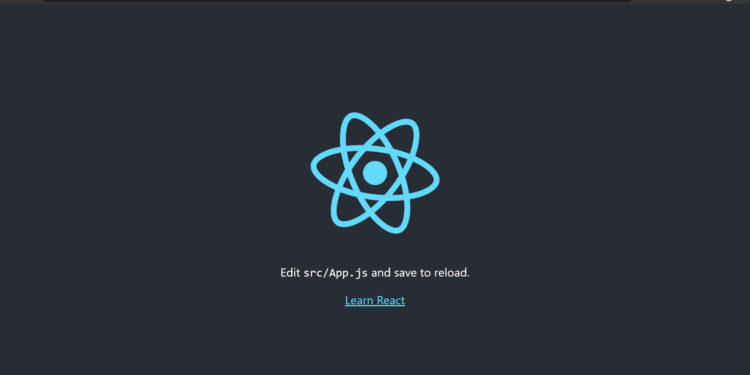
Now clique on the Url to navigate to our application and you will see that we have our app live !
Now ,all you have to do , is to pull the project since there is a new file published , do your modifications on your source code and then push it and GitHub action will do all for you and you will see your app published on azure .
You can watch the video below for the full Demo .
