In this new blog post we are going to build a simple basic Angular application , so you don’t have to know a lot about react , all we are going to build or use is a demo project .
If you want to read more about the Azure Static Web App Service follow this link .
Creating the Angular application
to build a react application we are going to use a couple of commands :
“Make sure you have a recent version of Node.js installed”
also you should have the latest version of Angular-CLI. Learn more about Angular CLI here, and find the instructions for installation.
Install Angular-cli:
npm install -g @angular/cli
Now let’s create our application using :
ng new my-app
The project will be generated automatically. Let’s go to our project using !
cd .\my-app\
to run our project we need to use this command :
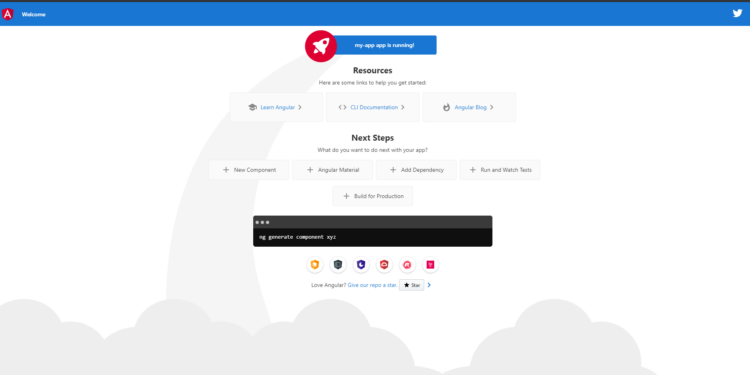
ng serve
now before pushing our source code to GitHub , let’s build our project using :
ng build
now if you go back to the project , you will see a new folder have been created name : dist (The dist folder is the build folder which contains all the files and folders which can be hosted in the server)
If you check you will see that there is another folder under dist called “my-app” which is the name of our app and that’s our target folder so we need to host the folder : dist\my-app we are going to need this later .
Pushing code to GitHub
Now after building our project on our local computer ,we are now going to push it to GitHub .
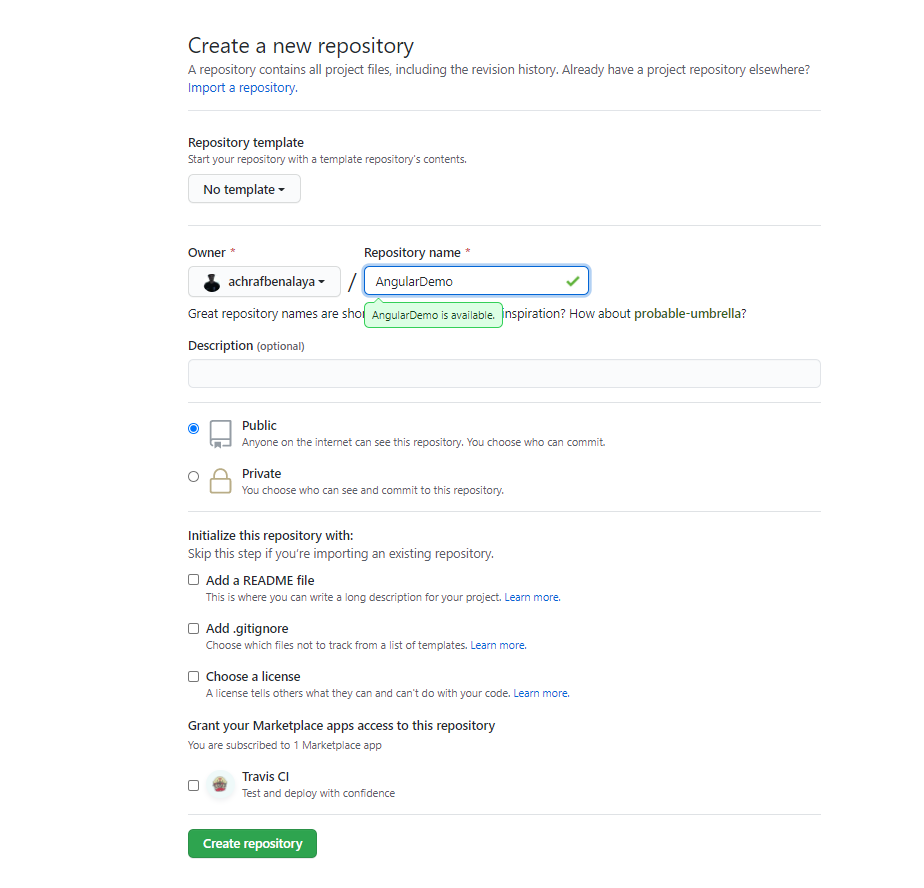
For that we need to create a new repository :
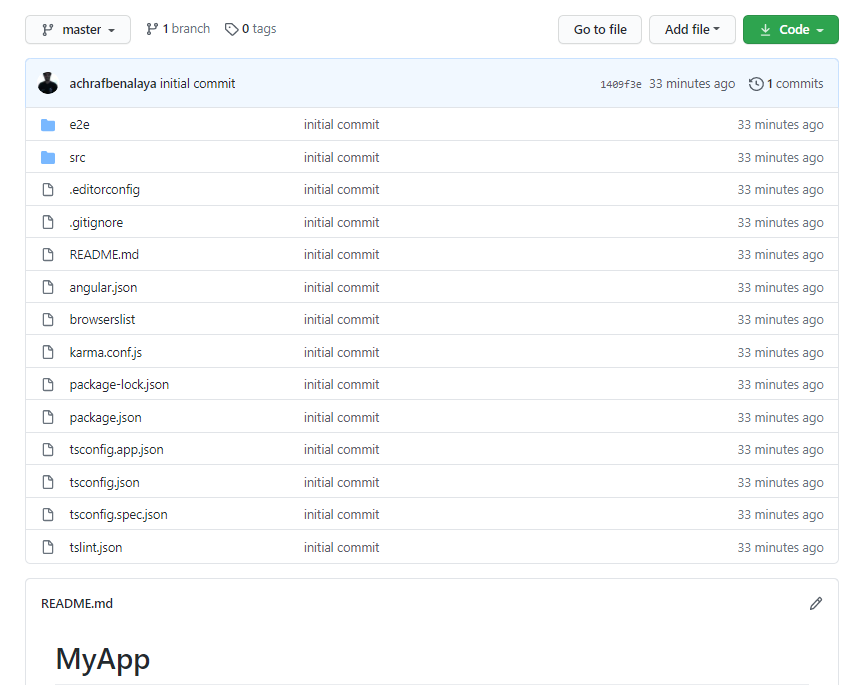
Now to push our solution to GitHub we are going to use a couple of commands :
git add -A
git commit -m
"first commit" git branch -M master
 git remote add origin https://github.com/achrafbenalaya/AngularDemo.git
git push -u origin master
Create Static Web App
If you don’t have an azure account you can create your Azure free account today and 12 months of free services from this link .
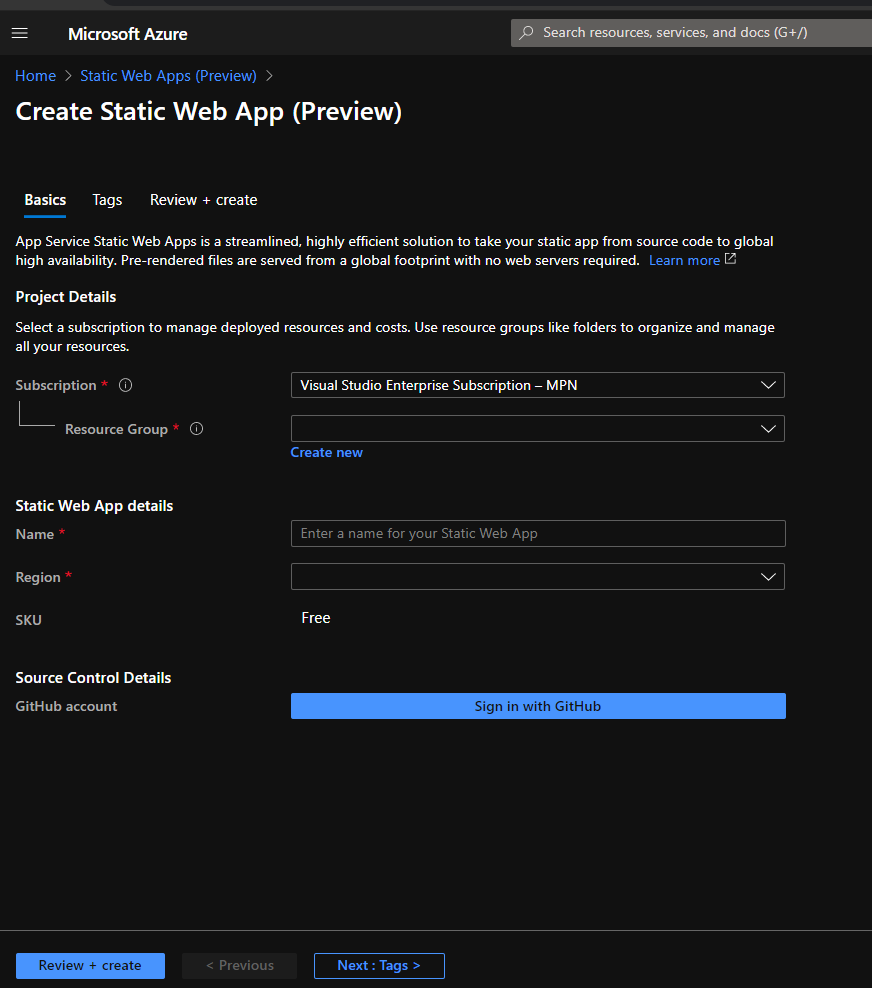
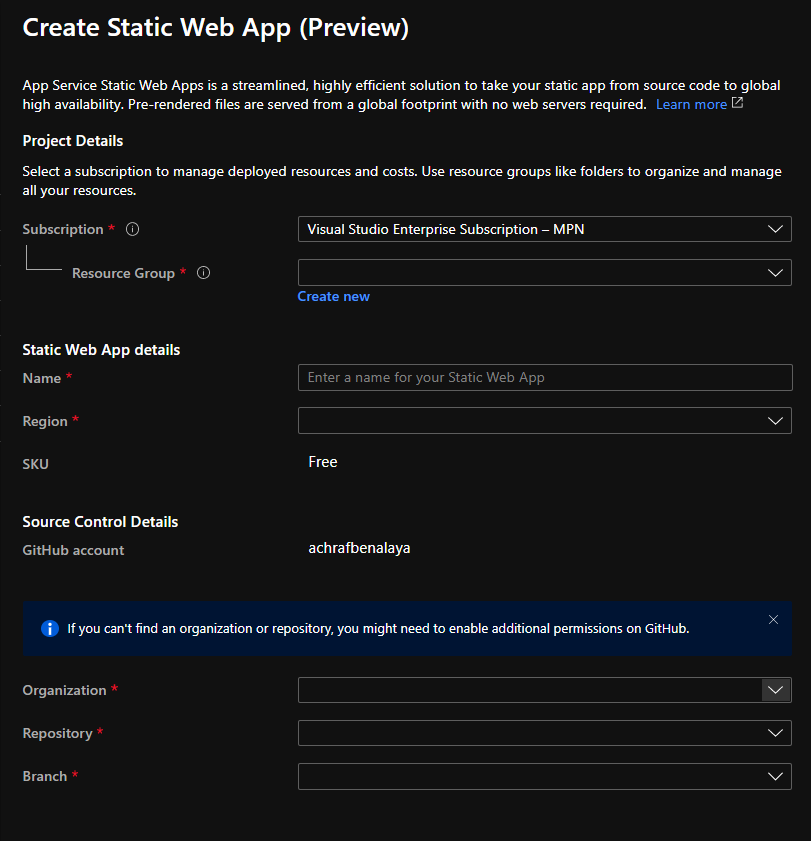
Now when you login to the portal you should look for static web app and clique on create and you will have the same as in the picture below :
Now , you should fill the data with a resource group (you can create a new one by cliquing on Create new) .
You should also give your application a name and choose a region, next we are going to build a trust connection between azure and GitHub by cliquing on Sign in with GitHub .
A new fields will appear where you need to choose your organization , the repository that you have created for the application and the branch (in our case we only have one branch and its the Master ) .
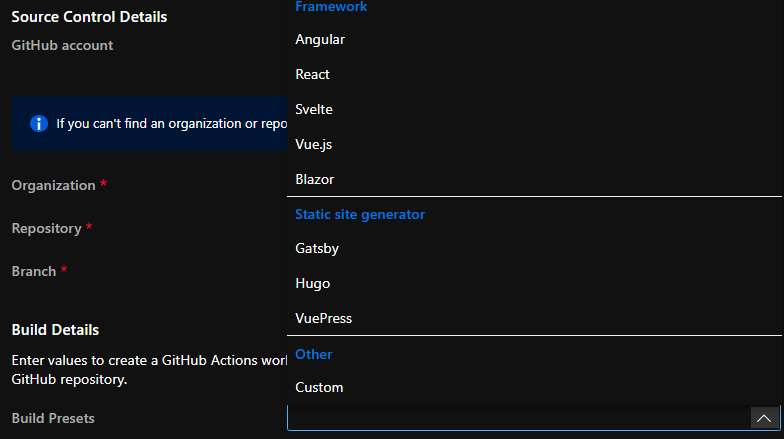
After you fill those fields, a new field will appear were you have to choose the framework that you have worked with ,in our case it’s Angular
Ps : make sure to keep dist folder and to add as I mentioned earlier the folder that is under fist which is my-app
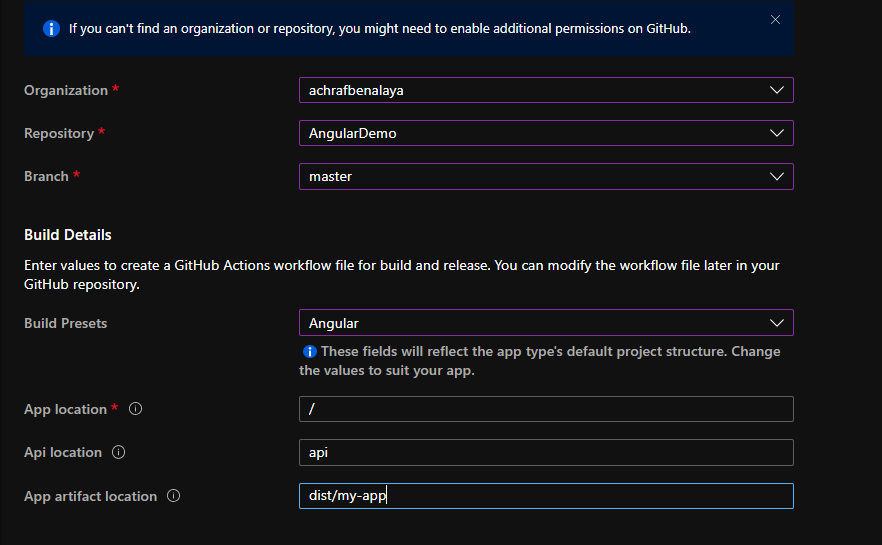
In our case , we don’t have an api ,we are not going to consume and api we are just going to build a static web app, for that , be carful to to delete the ‘dist/my-app’ for the app artifact location .
App artifact location is the path of your build output relative to your apps location. For example, setting a value of ‘build’ when your app location is set to ‘/app’ will cause the content at ‘/app/build’ to be served.
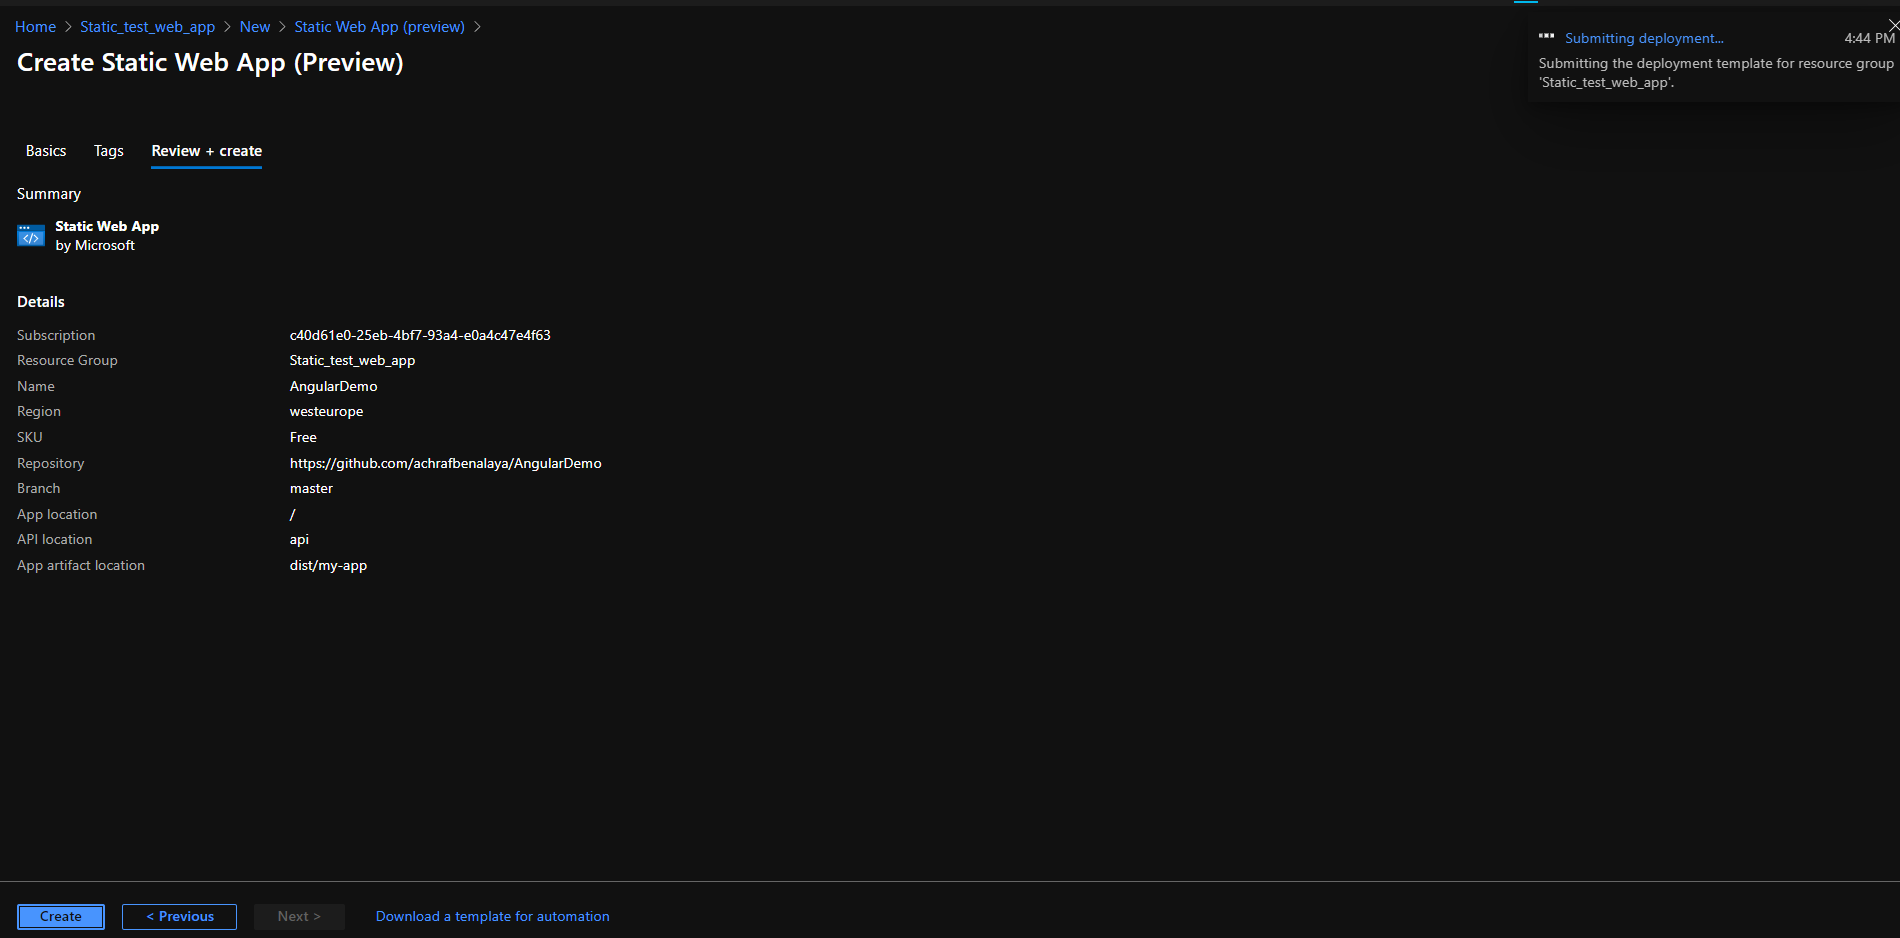
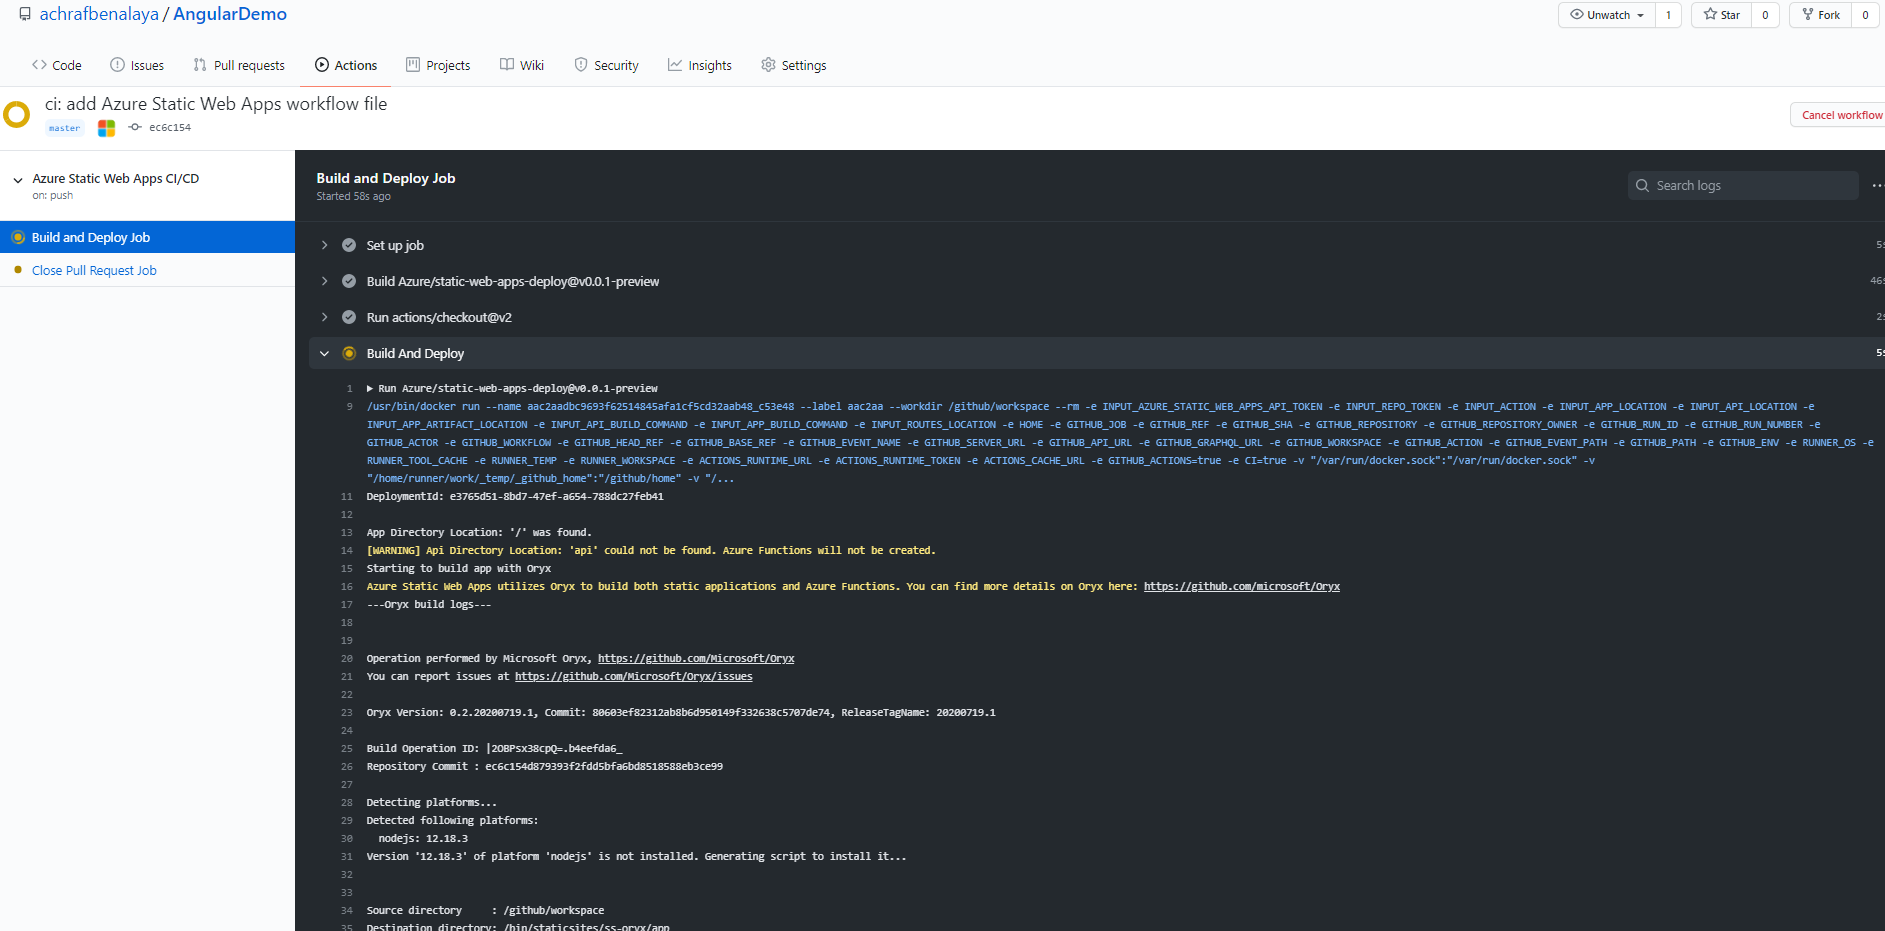
Now when you are going to clique on ‘Create’ Azure will use GitHub actions to deploy your webpage. If you head over to the app overview tab you will notice a “Workflow File” link.
If you open the file, you will see it contains the GitHub action config for CI/CD pipeline.
if you go and clique on Actions , you will see that the pipeline already started
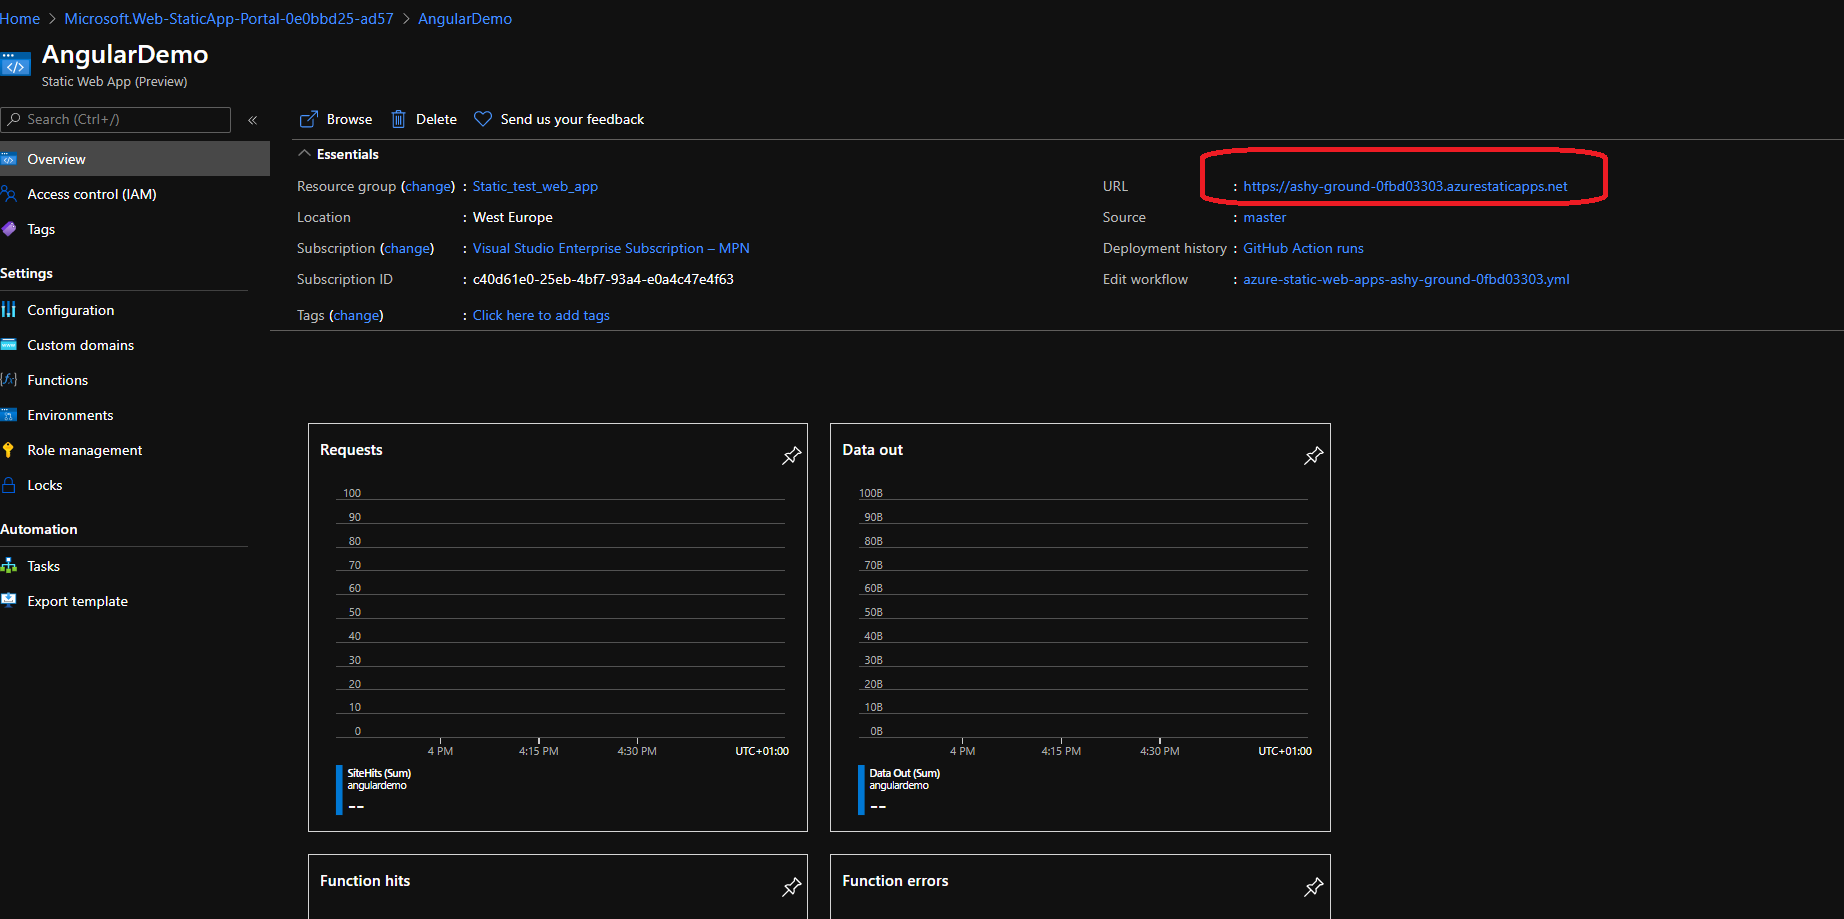
Now let’s check the service that we have created on azure while the build continue
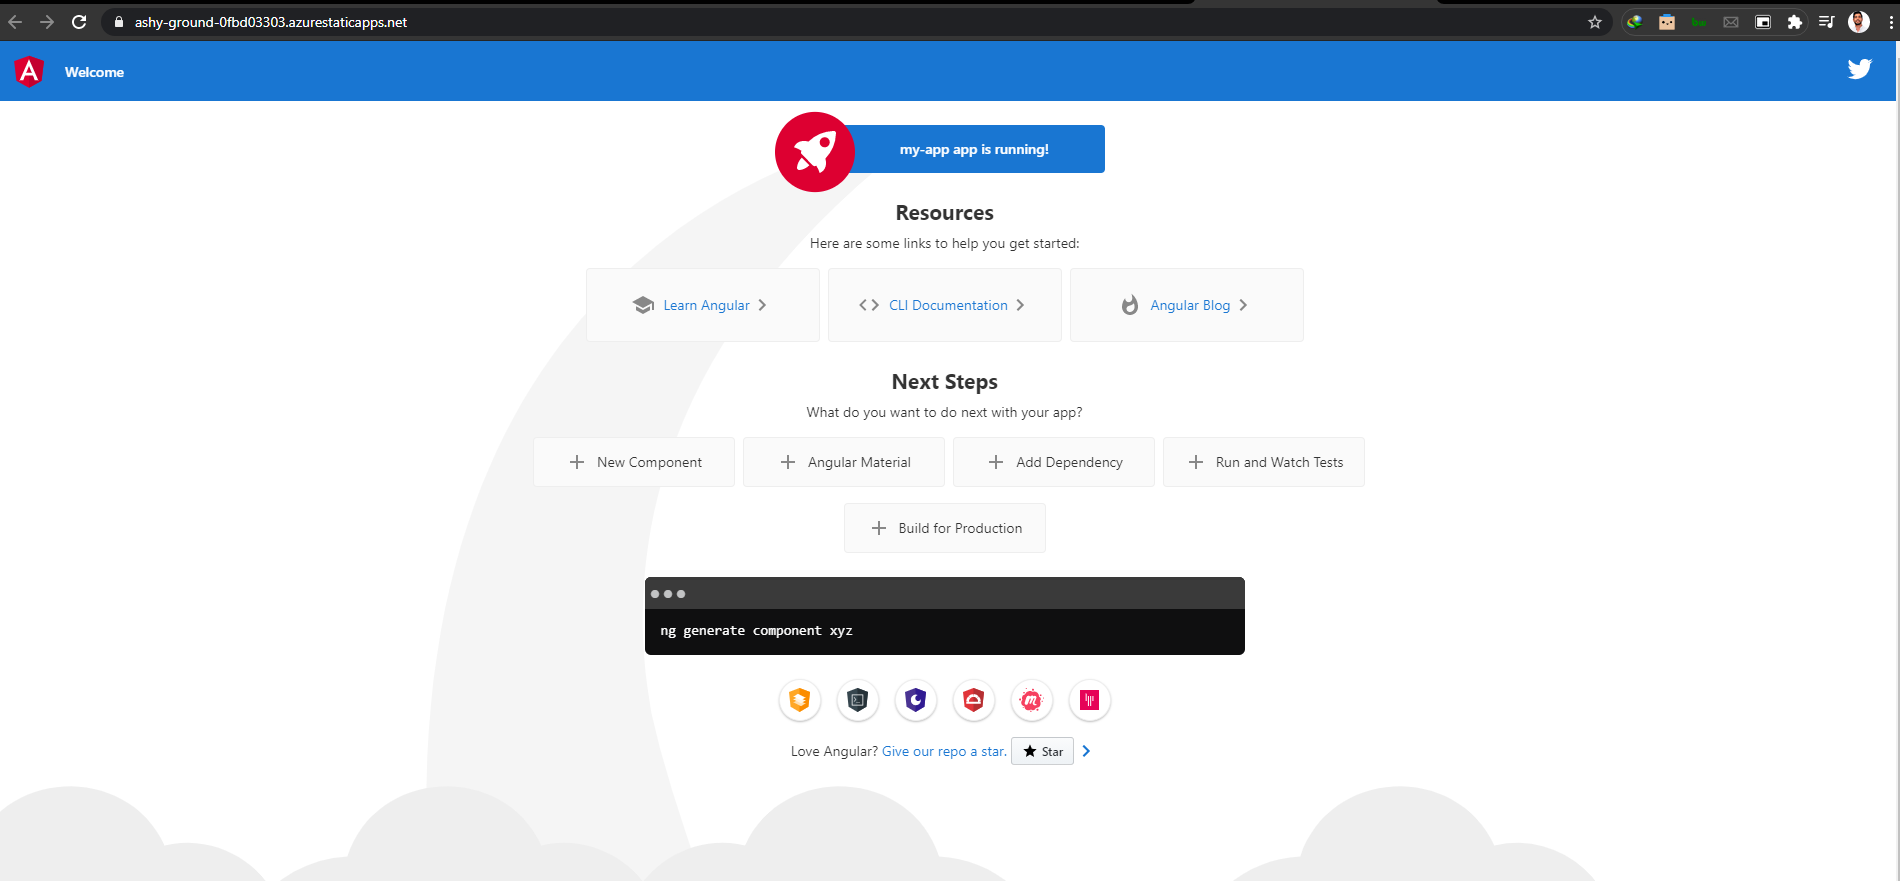
Now clique on the URL to navigate to our application and you will see that we have our app live !
Now ,all you have to do , is to pull the project since there is a new file published , do your modifications on your source code and then push it and GitHub action will do all for you and you will see your app published on azure .
You can watch the video below for the full Demo .
